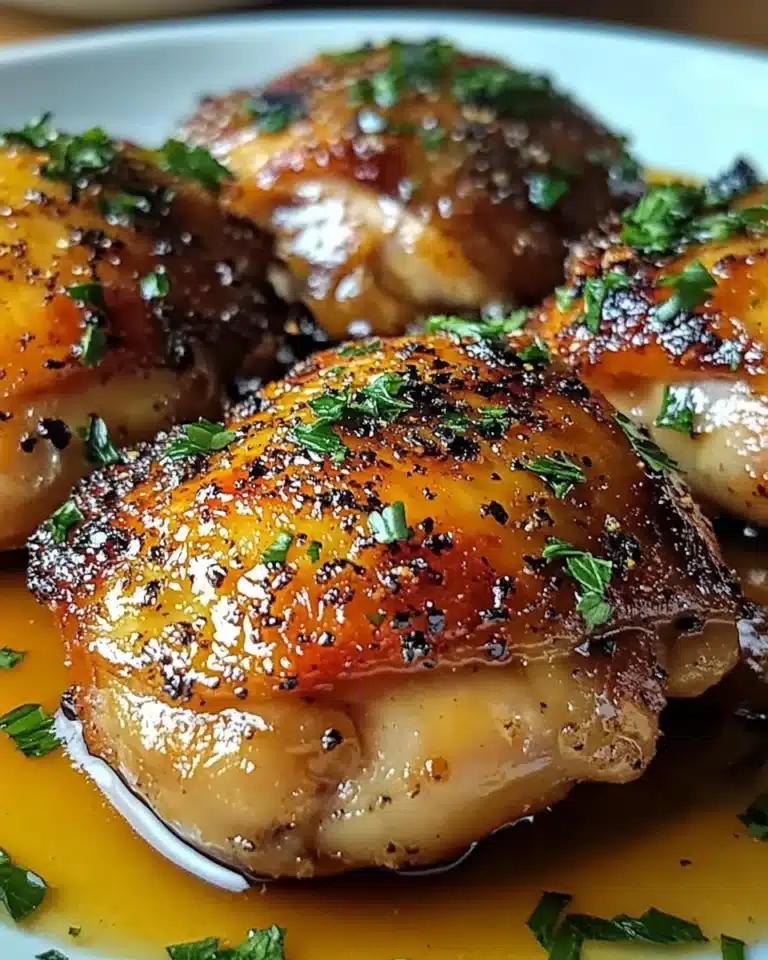
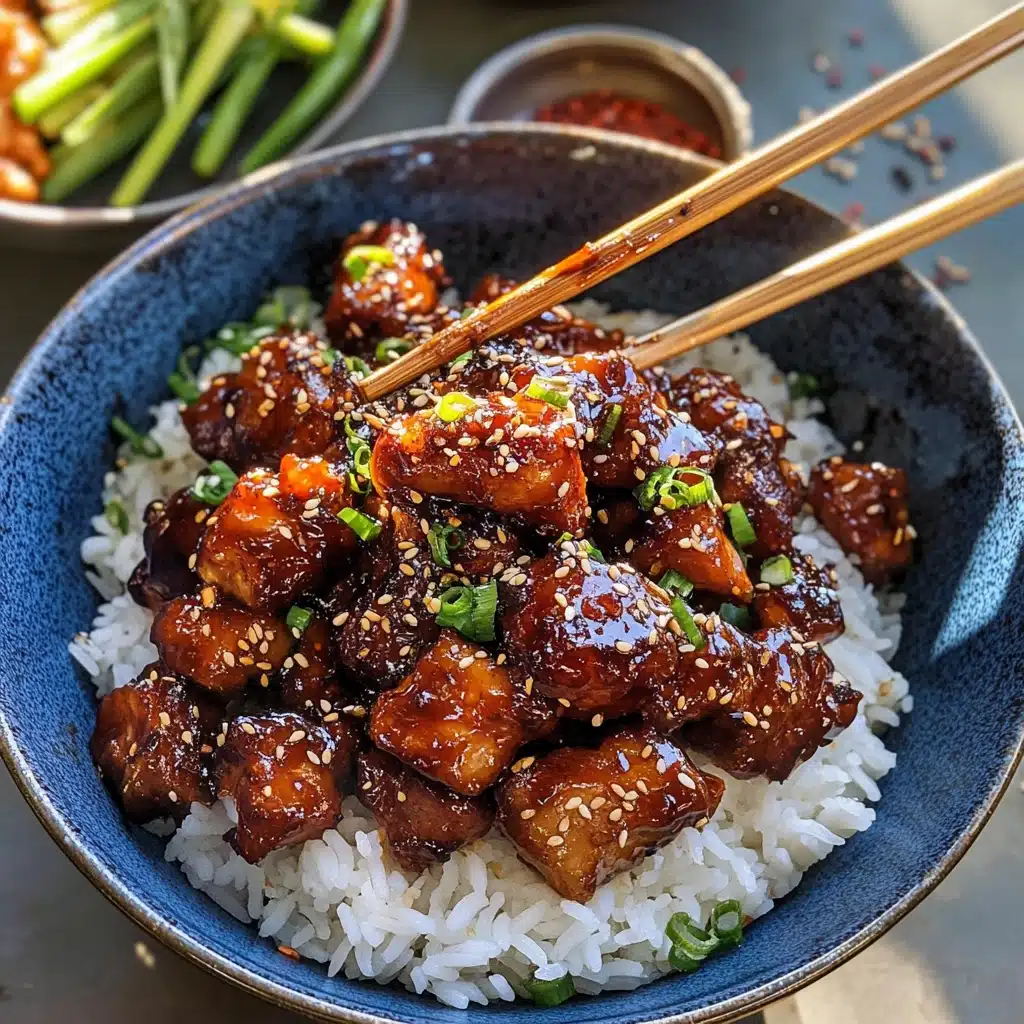
If you crave flavors that pack a punch but also respect your weeknight schedule, you need this recipe for 20 Minute Honey Garlic Chicken in your life. A tender, juicy chicken, lightly coated and roasted with crisp-tender broccoli, all drenched in a magical, sticky-savory-sweet garlic sauce, delivers that takeout-style wow factor (without the wait!). This dish is perfectly balanced—zippy, garlicky, and just the right amount of heat—making it the kind of meal you’ll crave again and again.
Ingredients You’ll Need
Gathering the ingredients for 20 Minute Honey Garlic Chicken is a breeze, and each one has a purpose—amplifying flavor, enhancing texture, or brightening up the final dish. This is a recipe where the magic really is in the little details, so let’s break down what you’ll need and why:
- Chicken breasts or thighs: Choose boneless, skinless chicken for fast, even cooking and juicy bites every time.
- Garlic powder: This infuses the chicken with deep, earthy flavor before baking even begins.
- Black pepper and chile flakes: They bring in a whisper of heat and complexity without overpowering the dish.
- Flour or gluten-free flour: A light dusting creates a perfect base for the sticky sauce to cling to the chicken.
- Extra virgin olive oil: Adds richness and helps everything roast up golden and delicious.
- Broccoli florets or chopped asparagus: These veggies roast beautifully alongside the chicken, soaking up the sauce and adding color.
- Sesame seeds: A simple sprinkle at the end offers crunch and a nutty aroma.
- Tamari or soy sauce: The backbone of the honey garlic sauce, providing salty depth and that unmistakable umami.
- Lemon juice: Just the right amount of acidity to balance the sweetness and brighten the flavors.
- Honey: Delivers that craveable sticky-sweetness and helps glaze the chicken to perfection.
- Garlic, grated: Intensifies the flavor—nothing says “honey garlic” like plenty of real garlic.
- Chili paste (gochujang): Adds complexity and gentle spice, making sure each bite pops.
- Chopped green onion: Sprinkled in the sauce for freshness and a pop of green.
- Toasted sesame oil: A finishing touch that brings warmth and depth to the entire dish.
How to Make 20 Minute Honey Garlic Chicken
Step 1: Prep Your Oven and Pan
Start by preheating your oven to 450°F—this high heat is your secret weapon for getting that irresistible roast on your chicken and veggies. Line a baking sheet with parchment paper (for easy clean-up) or give it a quick rub with oil, so nothing sticks.
Step 2: Season & Arrange the Chicken and Veggies
Toss your chicken cubes with garlic powder, black pepper, and a dash of chile flakes directly on the baking sheet—I love how hands-on and simple this is! Sprinkle the flour over for that irresistible crust, then drizzle over two tablespoons of the olive oil. Give it all a good toss and nudge the chicken to one side of the pan. On the other, pile on the broccoli or asparagus, toss with the rest of the olive oil, salt, and pepper.
Step 3: Roast Until Golden and Tender
Slide the whole tray into your hot oven and let it bake for 10-15 minutes. The chicken gets gorgeously golden, and the veggies go all bright and crisp-tender—everything’s cooking at once, so no stovetop juggling required.
Step 4: Whisk Together the Honey Garlic Sauce
While the chicken and veggies get cozy in the oven, grab a small bowl or glass jar and combine the tamari (or soy sauce), lemon juice, honey, grated garlic, chili paste, chopped green onion, and toasted sesame oil. It’s a small step with major flavor payoff for your 20 Minute Honey Garlic Chicken.
Step 5: Glaze the Chicken and Finish Baking
When the chicken is just about cooked through, remove the veggies from the pan. Drizzle that glorious honey garlic sauce all over your chicken and toss well so each piece is coated. Pop the tray back in the oven for another 5 minutes—the sauce turns sticky and caramelized in the best way.
Step 6: Serve and Enjoy
Now it’s time for the main event! Pile up your saucy chicken and veggies, spoon over every last drop of the sticky sauce, and finish with a generous sprinkle of toasted sesame seeds and those fresh green onions you reserved. You can serve it over rice, or even as a party appetizer—the choice is yours.
How to Serve 20 Minute Honey Garlic Chicken
Garnishes
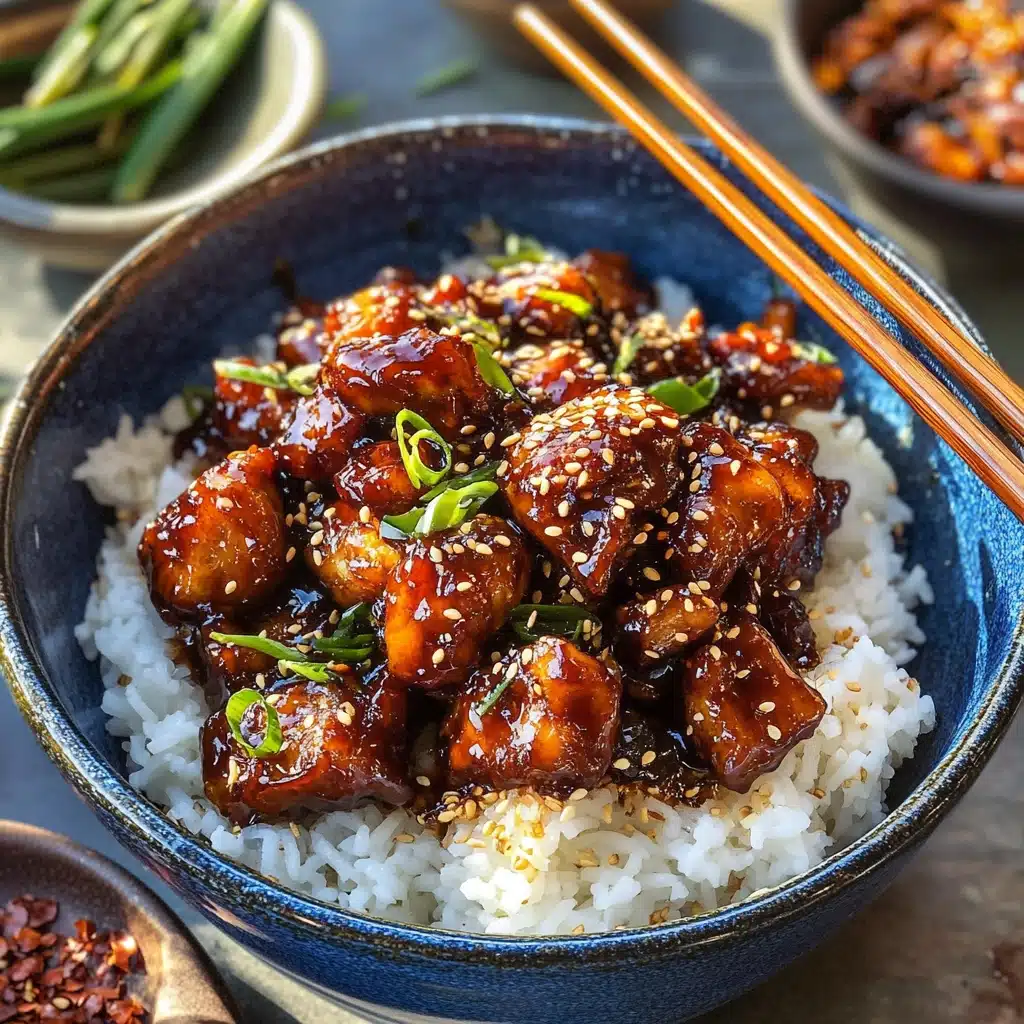
The right garnish makes the whole experience shine. For me, a shower of freshly sliced green onions and a sprinkle of toasted sesame seeds is non-negotiable. They add crunch, a pop of color, and make your 20 Minute Honey Garlic Chicken look as fabulous as it tastes.
Side Dishes
This dish begs to be served over fluffy steamed rice—simple and classic, letting the savory sauce soak in. If you’re feeling fancy, try jasmine or brown rice, or even rice noodles for a change. For a lighter meal, pile the chicken and broccoli over a bed of crisp salad greens and drizzle with any extra sauce from the pan.
Creative Ways to Present
Transform leftovers into a grain bowl by adding cooked quinoa and cucumber ribbons, or stuff everything into lettuce wraps for a fresh, handheld twist. 20 Minute Honey Garlic Chicken also makes a killer appetizer: skewer the saucy pieces onto toothpicks and serve party-style with extra chili flakes on the side!
Make Ahead and Storage
Storing Leftovers
Let your cooked chicken and veggies cool completely before transferring to an airtight container. Stored in the fridge, your 20 Minute Honey Garlic Chicken stays delicious for up to 3-4 days. The sauce may thicken slightly, but that just makes it even better as leftovers.
Freezing
If you want to freeze this dish, portion the cooled chicken (and veggies, if you like) into freezer-safe containers, leaving a little space for expansion. It will keep well for up to 2 months. For best texture, freeze without the garnishes and add those fresh after reheating.
Reheating
For best results, reheat gently in a skillet over medium-low heat, adding a splash of water or chicken broth to loosen the sauce if needed. Alternatively, microwave individual portions in 30-second bursts, stirring in between until hot. Don’t forget your fresh green onions and sesame seeds to finish!
FAQs
Can I use chicken thighs instead of breasts?
Absolutely! Chicken thighs stay extra juicy and tender, making them a fantastic option for your 20 Minute Honey Garlic Chicken. Just keep the pieces evenly sized for even cooking.
Is there a way to make this less spicy?
Yes—simply reduce or omit the chili paste and chile flakes. The honey garlic sauce is still full of flavor, and you can always serve extra chili on the side for heat-lovers.
What’s the best veggie substitute if I don’t have broccoli or asparagus?
Try green beans, snow peas, or bell peppers. These veggies all roast quickly and soak up the sauce beautifully, so the spirit of your 20 Minute Honey Garlic Chicken stays delicious.
Can I prep the sauce ahead of time?
Definitely! Mix the honey garlic sauce ingredients up to three days ahead and store in the fridge. Give it a quick stir before using, and pour over your baked chicken as directed.
Does this recipe work for meal prep?
It’s excellent for meal prep! Portion into lunches with rice or greens and enjoy flavorful, reheat-friendly meals all week long.
Final Thoughts
This recipe for 20 Minute Honey Garlic Chicken is proof that dinner can be simple, speedy, and bursting with flavor. I hope you’ll give it a try—one bite and it just might become a new favorite at your table!
Print20 Minute Honey Garlic Chicken Recipe
This quick and flavorful 20 Minute Honey Garlic Chicken recipe delivers a perfect sweet and savory takeout-style dinner with tender chicken, crispy veggies, and a sticky honey-garlic sauce—all ready in just half an hour. It’s ideal for busy weeknights and easily customizable with your favorite vegetables.
- Prep Time: 10 mins
- Cook Time: 20 mins
- Total Time: 30 mins
- Yield: 4 servings
- Category: Main-course
- Method: Baking
- Cuisine: Asian-inspired
- Diet: Halal
Ingredients
Chicken & Vegetables
- 2 lb chicken breasts or thighs, cut into cubes
- 1 tbsp garlic powder
- Black pepper and chile flakes, to taste
- 1/4 cup flour or gluten-free flour
- 4 tbsp extra virgin olive oil, divided
- 3 cups broccoli florets or chopped asparagus
- Salt, to taste
- Sesame seeds, for serving
Honey Garlic Sauce
- 1/3 cup tamari or soy sauce
- 2 tbsp lemon juice
- 3 tbsp honey
- 6 cloves garlic, grated
- 3–4 tbsp chili paste (gochujang)
- 2 tbsp chopped green onion
- 1 tbsp toasted sesame oil
Instructions
- Preheat the Oven
Set the oven to 450°F (230°C). Prepare a baking sheet by lining with parchment paper or greasing it lightly with oil. - Season and Prepare Chicken & Vegetables
On the sheet pan, combine the chicken, garlic powder, black pepper, and chile flakes. Sprinkle with the flour and toss again to coat evenly. Add 2 tablespoons of olive oil to the chicken and mix well. Arrange the chicken pieces to one side of the sheet pan. Place the broccoli or chopped asparagus on the other side, tossing with the remaining olive oil and a pinch of salt and pepper to season. - Bake Initial Round
Bake everything for 10-15 minutes, or until the chicken is just cooked through and the vegetables are tender-crisp. - Prepare the Honey Garlic Sauce
While the chicken and vegetables bake, whisk together in a bowl or jar: tamari (or soy sauce), lemon juice, honey, grated garlic, chili paste (gochujang), chopped green onion, and toasted sesame oil. Set aside. - Sauce & Finish Baking
Remove the vegetables from the pan and set aside. Pour the honey garlic sauce all over the chicken. Toss the chicken to coat evenly in the sauce. Return the pan to the oven and bake the chicken for another 5 minutes, until the sauce thickens and clings to the chicken. - Serve
Serve the sticky honey garlic chicken and roasted vegetables topped with more green onions and a sprinkle of sesame seeds. This is delicious over rice, noodles, or enjoyed on its own.
Notes
- Swap the veggies: Asparagus, bell peppers, or green beans are tasty alternatives to broccoli.
- Adjust spiciness: Increase or decrease the chili paste to suit your heat preference.
- Gluten-free: Use tamari and gluten-free flour for a celiac-friendly dish.
- Meal prep: Leftovers keep well in the fridge for up to 3 days, making it great for lunch boxes.
- Serving ideas: Pairs well with jasmine rice, quinoa, or cauliflower rice for a lighter option.
Nutrition
- Serving Size: 1/4 of recipe
- Calories: 410
- Sugar: 11g
- Sodium: 1040mg
- Fat: 17g
- Saturated Fat: 3g
- Unsaturated Fat: 13g
- Trans Fat: 0g
- Carbohydrates: 21g
- Fiber: 3g
- Protein: 46g
- Cholesterol: 135mg


