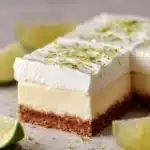
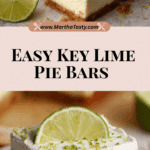
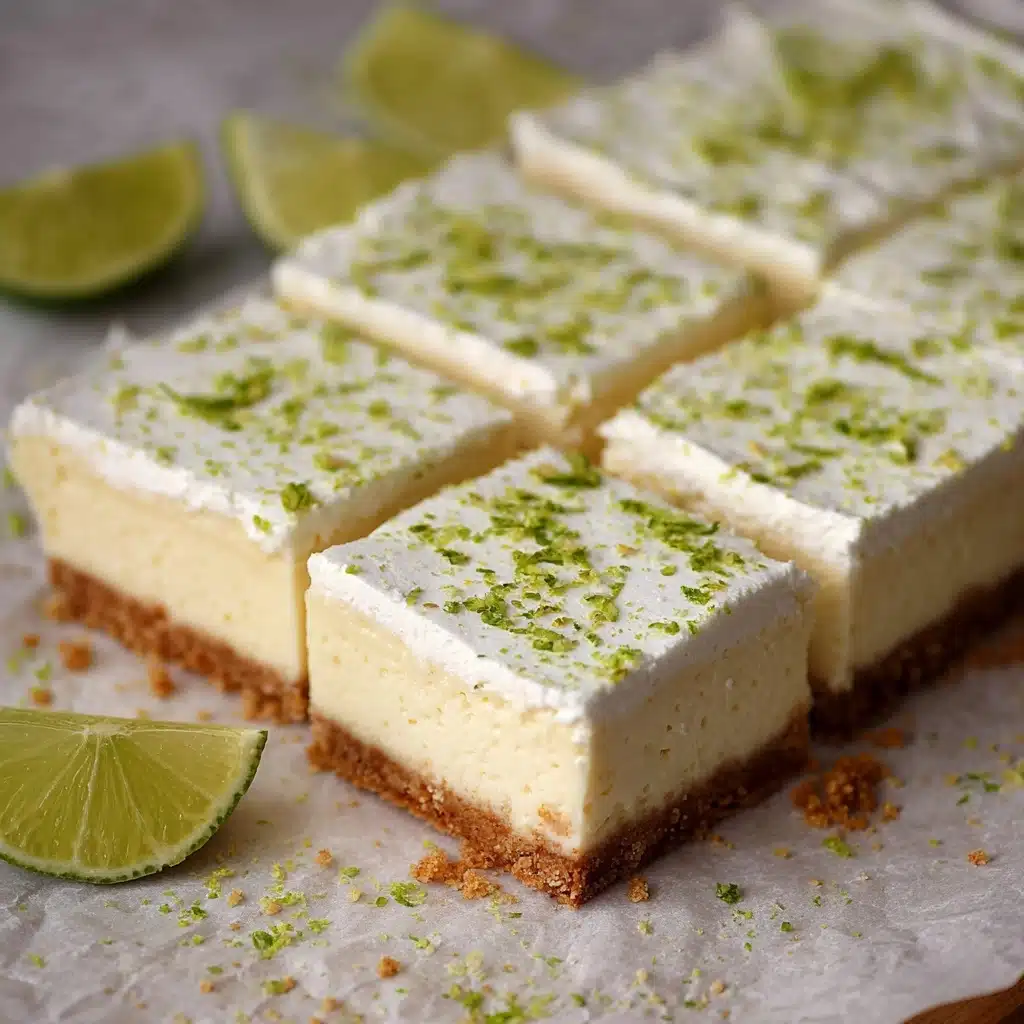
If you’re dreaming of the ultimate sweet-tart treat, look no further than this BEST KEY LIME PIE BARS RECIPE! These bars take everything we love about a classic key lime pie—zesty citrus, creamy filling, and that buttery graham cracker base—and transform it into a delightful, hand-held dessert that’s impossible to resist. With just 9 simple ingredients and less than 15 minutes of hands-on work, this recipe quickly becomes your go-to for gatherings, sunny weekends, or any day in need of a tropical pick-me-up.
Ingredients You’ll Need
The beauty of the BEST KEY LIME PIE BARS RECIPE is how a handful of everyday ingredients transforms into something downright memorable. Every item here plays a special role, layering in texture, flavor, and curb-appeal you just can’t fake.
- Graham crackers: They create the essential sweet and sandy crust—use the classic version or try honey for a twist.
- Melted butter: Holds the crust together and gives it a beautiful golden color after baking.
- Sweetened condensed milk: The rich, creamy backbone of the filling, amplifying both sweetness and silkiness.
- Key lime juice: Brings authentic tang and zip—bottled will work, but freshly squeezed is top-tier.
- Key lime zest: Adds fresh fragrance and green-flecked color, giving the bars a kiss of citrus throughout.
- Vanilla: Rounds out the tangy notes, making the filling taste even more indulgent.
- Sour cream or yogurt: Keeps the texture dreamy and lush while balancing the brightness with a gentle tang.
- Egg yolks: Work their magic by thickening the filling so it slices beautifully and holds its shape.
- Heavy cream (chilled): The perfect base for that pillowy whipped topping, bringing lightness to every bite.
- Granulated sugar: Just a little is whipped with the cream for a subtly sweet cloud topping your bars.
How to Make BEST KEY LIME PIE BARS RECIPE
Step 1: Prep Your Pan
Start by preheating your oven to 350F. Grab a 9×9-inch square baking pan and line it with two sheets of parchment paper, positioned perpendicular to each other. It’s important that the parchment reaches up the sides—this will let you lift out the whole batch easily once it’s set, making for clean, photogenic squares every single time.
Step 2: Make and Bake the Crust
Blitz your graham crackers in a food processor until you have fine crumbs. Pour in the melted butter and pulse just until combined. Press the buttery crumbs firmly into your prepared pan, smoothing out the surface with the back of a measuring cup or spoon. Bake this crust for 8-10 minutes. Then, lower your oven temperature to 325F—your crust will smell absolutely amazing and start toasting just a bit around the edges.
Step 3: Mix the Key Lime Filling
While the crust bakes and cools slightly, zest and juice your key limes. In a mixing bowl, combine the sweetened condensed milk, key lime juice, key lime zest, vanilla, sour cream (or yogurt), and egg yolks. Whisk everything together until silky smooth and well-blended—the filling should be pale and fragrant, with little green speckles of zest peeking through.
Step 4: Assemble and Bake
Pour the luscious key lime filling over your slightly cooled crust, using a spatula to spread it into an even layer. Pop the whole pan back in the oven and bake for about 15 minutes, just until the filling appears set (no longer jiggly in the center). Let the bars cool at room temperature, then refrigerate for at least 3 hours—overnight is even better for ultra-clean cuts and deeper flavor.
Step 5: Make the Whipped Topping
When you’re ready to serve, whip your chilled heavy cream and a couple tablespoons of sugar together until soft peaks form. This quick topping is everything: soft, fluffy, and just rich enough to cut through the citrusy tang of the bars. Dollop or pipe generously over your chilled, sliced bars for a finishing touch that feels bakery-level special.
How to Serve BEST KEY LIME PIE BARS RECIPE
Garnishes
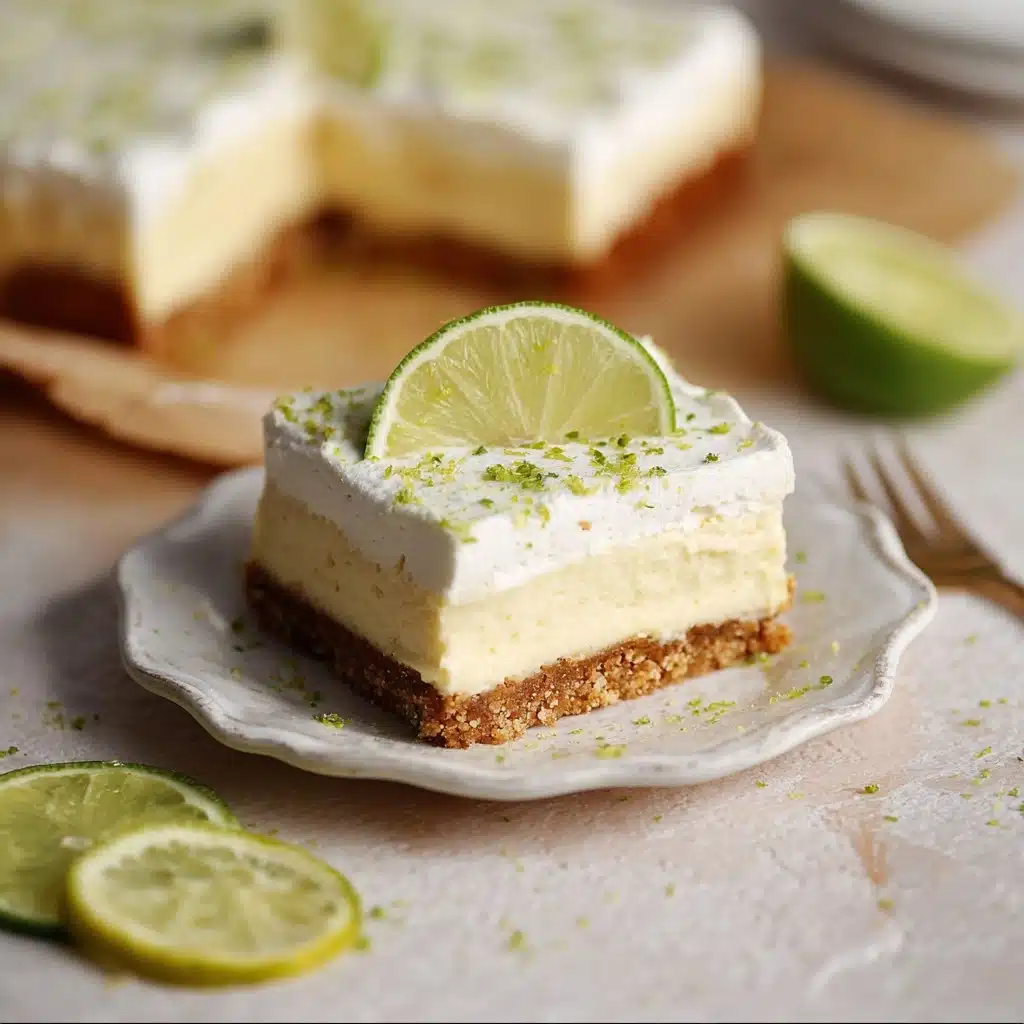
The real thrill comes in the finishing details! Try a scattering of extra key lime zest for color and fragrance, or a few thin lime slices on top for a pop of green. You could even drop a couple of toasted coconut flakes, or sprinkle on crushed graham crackers for that classic crunch.
Side Dishes
Because these bars are so vibrant and refreshing, they pair beautifully with a light, fruity side. Serve them alongside a fresh berry salad, a tropical fruit platter, or even with a scoop of coconut or vanilla ice cream if you want to treat your guests to something ultra-decadent.
Creative Ways to Present
For fun parties, cut the bars into petite squares and place them on cupcake liners, topping each with a swirl of whipped cream. Or, make “bars-in-a-jar” by layering crumbs, filling, and toppings in small mason jars—a guaranteed crowd-pleaser at picnics or potlucks. However you serve them, the BEST KEY LIME PIE BARS RECIPE always draws a wow!
Make Ahead and Storage
Storing Leftovers
Your BEST KEY LIME PIE BARS RECIPE will keep wonderfully in the fridge for up to 5 days. Store them in an airtight container with parchment between layers to keep the topping fluffy and the crust crisp. They taste even better on day two as the flavors meld together!
Freezing
Need to save some for later? Freeze the bars (before garnishing with whipped cream) for up to 2 months. Wrap them tightly in plastic wrap then foil, and simply thaw in the fridge overnight before topping and serving—nobody will know they weren’t made fresh that day.
Reheating
These bars really shine chilled, but if you like a slightly softer texture, let them sit at room temperature for about 10 minutes before serving. There’s no need for any oven time—just a few minutes out of the fridge brings back their perfect creamy bite.
FAQs
Can I use regular limes instead of key limes?
Yes! While authentic key limes are extra fragrant and tart, Persian limes (the standard kind at most supermarkets) work well as a substitute. Your BEST KEY LIME PIE BARS RECIPE will still be tangy, fresh, and totally delicious.
Do I need to use a food processor for the crust?
No worries if you don’t have a food processor! Simply crush the graham crackers in a zip-top bag with a rolling pin until fine, then mix with melted butter. The results are just as tasty and satisfying.
Can I make this recipe gluten-free?
Absolutely—just use your favorite gluten-free graham crackers for the base. The rest of the ingredients in the BEST KEY LIME PIE BARS RECIPE are already gluten-free.
How do I get clean slices?
Be sure to chill the bars thoroughly, and use a sharp knife wiped clean between each cut. Lifting the bars by the parchment also helps keep the layers intact for perfect, bakery-worthy squares every time.
Is it okay to use bottled key lime juice?
Yes, bottled key lime juice works in a pinch and keeps this recipe extra easy when fresh key limes are out of season or hard to find. If you can add real zest, though, that’s the secret to a fresher flavor punch!
Final Thoughts
There’s something utterly joyful about sharing a pan of the BEST KEY LIME PIE BARS RECIPE with friends and family. Every bite is sunshine on a fork—creamy, tangy, and sweet with just the right amount of crunch. Give this recipe a whirl, and you’ll see why it’s so beloved in my kitchen. I can’t wait for you to taste just how effortless and extraordinary these bars are!
PrintBEST KEY LIME PIE BARS RECIPE
These Key Lime Pie Bars are a supremely creamy, zesty, and refreshing dessert that’s incredibly easy and quick to make. With a buttery graham cracker crust, a bright and tangy key lime filling, and a light whipped cream topping, they deliver all the flavor of classic key lime pie in foolproof, hand-held bar form. Ready in just 30 minutes of active time plus chilling, these bars are the perfect make-ahead treat for gatherings or summer celebrations.
- Prep Time: 15 minutes
- Cook Time: 15 minutes
- Total Time: 30 minutes + 3 hours cooling
- Yield: 10-12 servings
- Category: Desserts
- Method: Baking
- Cuisine: American
- Diet: Vegetarian
Ingredients
For the Crust
- 230g graham crackers (about 16 full sheets)
- 1/2 cup melted butter (113g)
For the Key Lime Filling
- 2 cans sweetened condensed milk (28oz)
- 3/4 cup key lime juice (180g)
- 1 tbsp key lime zest (from 2–3 limes)
- 2 tsp vanilla extract
- 2/3 cup sour cream or yogurt (160g)
- 2 egg yolks
For the Topping
- 1 1/2 cups heavy cream, chilled (360g)
- 2 tbsp granulated sugar
Instructions
- Preheat and Prepare Pan: Preheat your oven to 350°F (conventional). Line a 9×9-inch square baking pan with two sheets of parchment paper, arranging them perpendicularly so the paper rises up the sides. This will make removing the bars easier after chilling.
- Make the Crust: Crush the graham crackers into fine crumbs using a food processor. Mix the crumbs with the melted butter until evenly combined and the mixture looks like damp sand.
- Form and Bake the Crust: Press the graham cracker mixture firmly into the prepared pan, forming a compact, even layer. Use the back of a spoon or the bottom of a measuring cup to tightly pack it. Bake for 8-10 minutes, or until slightly golden and set. Reduce the oven temperature to 325°F.
- Prepare the Filling: While the crust bakes, zest and juice your key limes. In a mixing bowl, whisk together the sweetened condensed milk, key lime juice, key lime zest, vanilla, sour cream or yogurt, and the egg yolks until smooth and fully combined.
- Fill and Bake: Pour the key lime filling over the warm crust, spreading evenly. Bake at 325°F for 15-18 minutes, or until the filling is just set but still jiggles slightly in the center.
- Cool and Chill: Remove the pan from the oven and cool to room temperature, then refrigerate for at least 3 hours (preferably overnight) until fully set and chilled.
- Make the Whipped Cream Topping: Just before serving, whip the chilled heavy cream and granulated sugar together with an electric mixer until soft peaks form.
- Finish and Serve: Spread or pipe the whipped cream over the chilled bars. Lift out of the pan using the parchment paper, slice into squares, and serve cold. Enjoy!
Notes
- Regular limes can be substituted if key limes aren’t available, but the flavor will be slightly different.
- For perfectly neat slices, chill the bars thoroughly and use a sharp, clean knife.
- Bars can be made ahead and kept refrigerated (without topping) for up to 3 days.
- The whipped cream topping can be piped or simply spread on top, and can be flavored with a touch of vanilla if desired.
- You can freeze the bars (without whipped cream) for up to a month; thaw in the refrigerator before serving.
Nutrition
- Serving Size: 1 bar (1/12th recipe)
- Calories: 340
- Sugar: 32g
- Sodium: 170mg
- Fat: 18g
- Saturated Fat: 11g
- Unsaturated Fat: 6g
- Trans Fat: 0g
- Carbohydrates: 40g
- Fiber: 0g
- Protein: 5g
- Cholesterol: 77mg

