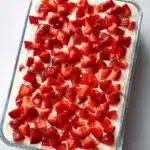
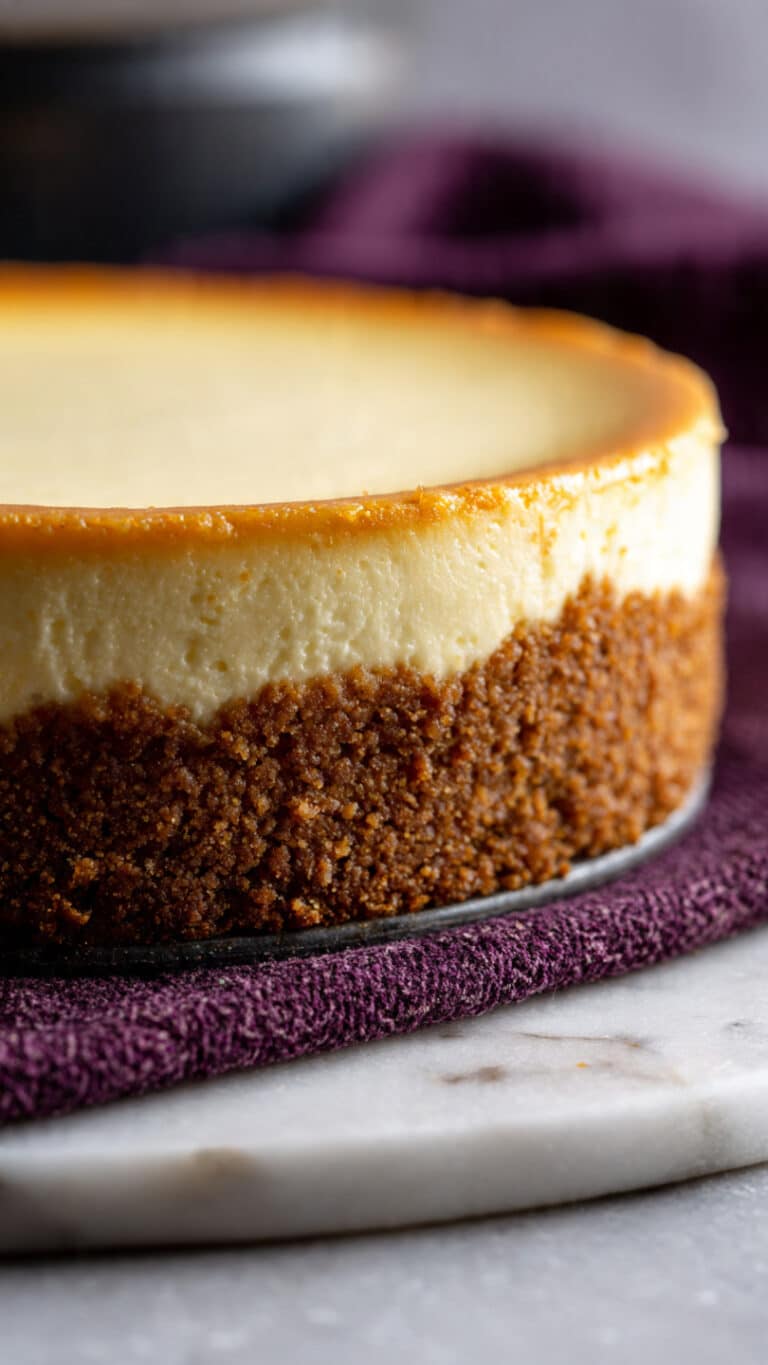
If there’s ever a dessert that truly captures the spirit of “simple ingredients, spectacular results,” it’s the Easy Icebox Cake. This old fashioned favorite layers crunchy graham crackers, creamy cheesecake (or vanilla) pudding, fluffy Cool Whip, and fresh, jewel-like strawberries to create an irresistibly cool, refreshing treat. No baking, no fuss—just pure dessert satisfaction that’s perfect for potlucks, summer cookouts, or any time you’re craving something sweet without turning on the oven!
Ingredients You’ll Need
The magic of Easy Icebox Cake is all about just a handful of supermarket staples, each one playing its part in delivering that scrumptious taste and classic chilled texture. Here’s what you’ll need, along with a few tips to guarantee the best results every time.
- Instant Cheesecake (or Vanilla) Pudding Mix: This is the flavor backbone of the cake—be sure to go for full-fat for the creamiest result and don’t worry, vanilla is a perfect stand-in if needed.
- Whole Milk: Cold, whole milk gives the pudding its rich, velvety texture; don’t swap in skim or reduced fat for this one—it’s worth the indulgence!
- Cool Whip: A generous swirl of full-fat Cool Whip folded into the pudding brings that iconic lightness and makes every bite dreamy.
- Graham Crackers: These golden squares soften in the fridge, creating a cake-like texture and the perfect cradle for those creamy layers.
- Fresh Strawberries: Diced and patted dry, strawberries not only provide bright, fruity bursts in every bite but also make every slice look like a celebration.
How to Make Easy Icebox Cake
Step 1: Make the Creamy Filling
Start by whisking your instant cheesecake (or vanilla) pudding mix together with cold whole milk in a large mixing bowl. You’ll want a smooth, slightly thick mixture—this is the flavor-packed base that makes this Easy Icebox Cake so luscious. Next, gently fold in the Cool Whip. This step is essential: it fluffs up the pudding, giving the filling a lighter, almost mousse-like texture that sets beautifully as the cake chills.
Step 2: Layer the Graham Crackers
Grab your trusty 9×13-inch rectangular pan and line the bottom with graham crackers. Don’t worry if you need to break a few to fit—just try to cover the pan as evenly as possible. These crackers are about to absorb all that pudding goodness, transforming from crisp to tender and cake-like during their stint in the fridge.
Step 3: Add the Creamy Mixture and Strawberries
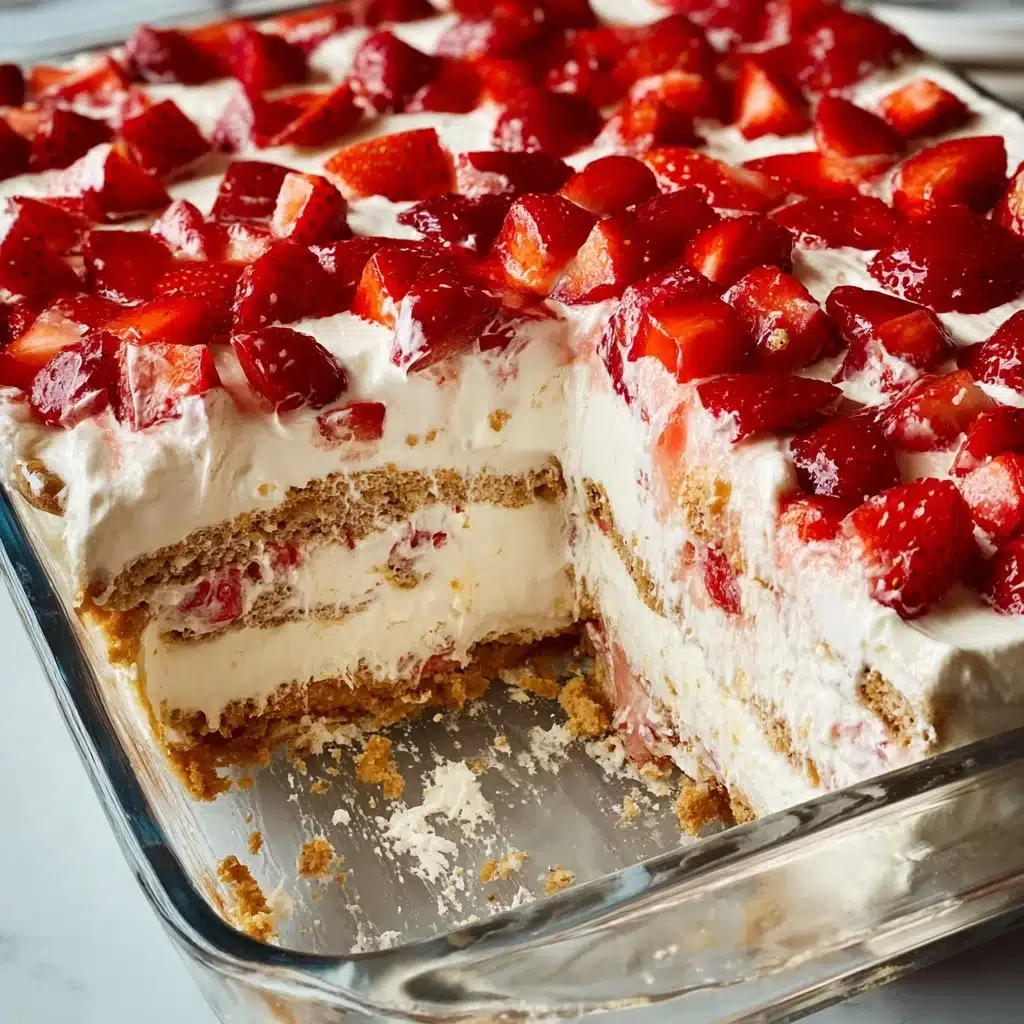
Spoon about a third of your pudding and Cool Whip mixture over the graham crackers. Use a spatula to gently spread it all the way to the edges for even coverage. Sprinkle a generous handful of diced strawberries on top—don’t skimp here! Their natural sweetness and vibrant color really shine in each layer of Easy Icebox Cake.
Step 4: Repeat the Layers
Now, build another layer of graham crackers right on top of the strawberries, pressing them down gently. Add another third of the creamy filling, spread evenly, and scatter more strawberries. Repeat with a final layer of graham crackers and the last of the pudding mixture. Finish with a flourish of the remaining strawberries on top—this gives the finished dessert a fresh, summery look.
Step 5: Chill Until Set
Cover your assembled Easy Icebox Cake and transfer it to the fridge. For the classic texture, you’ll want to chill it for at least 6 to 8 hours (or overnight if you can wait that long). As it rests, the graham crackers soften and meld with the filling, so each slice comes out neat and perfectly layered.
Step 6: (Optional) Turn It Into a Frozen Dessert
If you want to serve this as a frosty summertime treat, wrap the whole pan with plastic wrap, then a layer of aluminum foil, and pop it into the freezer overnight. Let it thaw for 30–40 minutes at room temperature before slicing for a refreshing, almost ice cream cake-like version of Easy Icebox Cake.
How to Serve Easy Icebox Cake
Garnishes
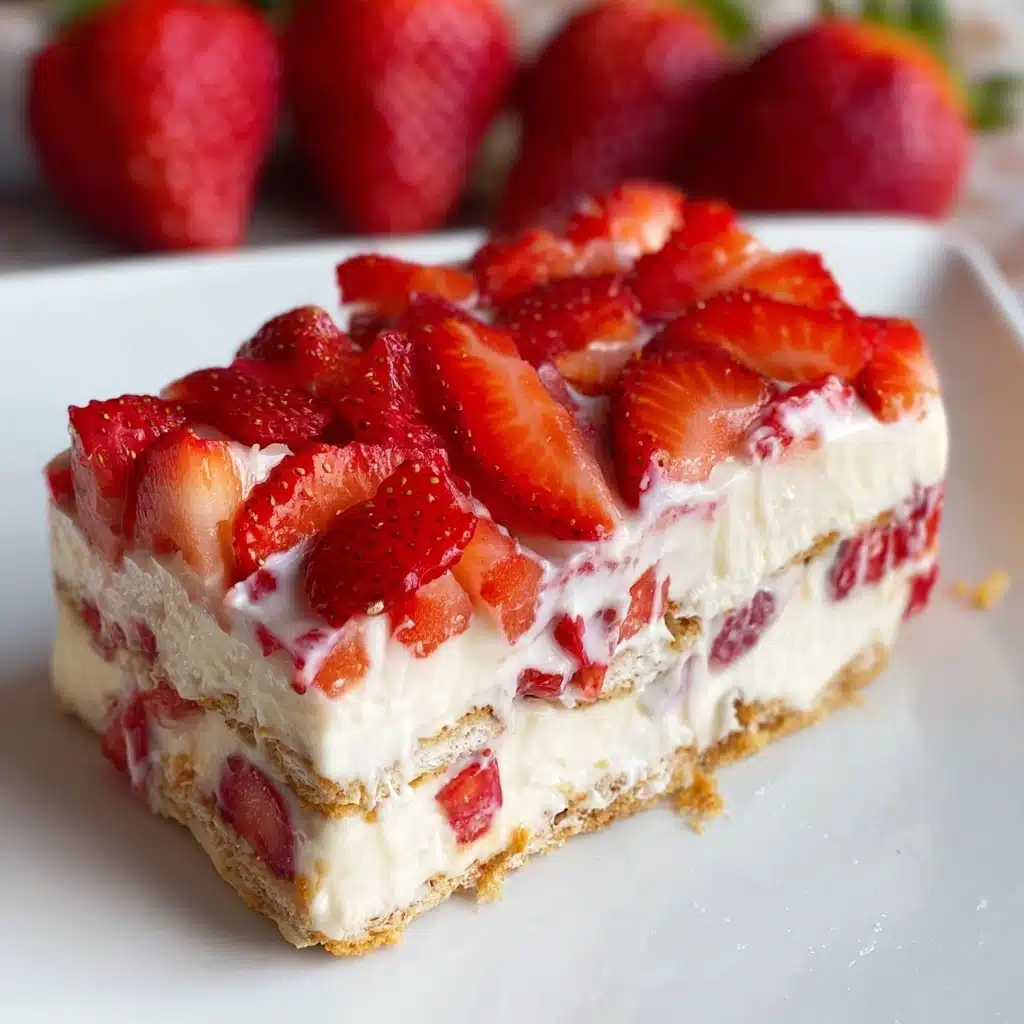
Garnishing is the extra touch that turns your Easy Icebox Cake from delightful to downright dazzling. Sprinkle extra diced strawberries on top before serving, or dust with powdered sugar for an elegant finish. A few mint leaves or some shaved white chocolate make every piece feel special and inviting.
Side Dishes
While this is a stand-alone showstopper, it pairs beautifully with light, fresh accompaniments. A mixed fruit salad, lemon sorbet, or even a crisp glass of iced tea alongside a slice of Easy Icebox Cake makes for a lovely, refreshing ending to a summer meal.
Creative Ways to Present
For parties, consider assembling the dessert in individual mason jars or stemless wine glasses for a modern twist—guests will adore having their own personal serving! You could also portion the cake into neat squares and serve on a platter, adorned with a dollop of whipped cream and extra berries for that bakery-worthy touch.
Make Ahead and Storage
Storing Leftovers
Leftover Easy Icebox Cake keeps wonderfully in the fridge for up to three days. Just cover the pan tightly with plastic wrap or transfer slices to an airtight container. The flavors only deepen as it sits, making those next-day bites extra special.
Freezing
This dessert adapts beautifully to freezing—simply wrap it well in plastic wrap, then foil, and freeze for up to one month. Thaw at room temperature for about 30–40 minutes before slicing, and you’ll enjoy a treat that’s just as delicious as the day you made it!
Reheating
You won’t need any reheating here—this is a chilled dessert meant to be served straight from the fridge or after a brief thaw from the freezer. If you want to soften it a bit more, just let it rest at room temperature for 10–15 minutes before serving.
FAQs
Can I use a different type of berry or fruit?
Absolutely! Blueberries, raspberries, or a combination of your favorite fresh fruits all make wonderful variations. Just be sure to pat the fruit dry to avoid excess moisture in your Easy Icebox Cake.
Is it possible to make Easy Icebox Cake dairy-free?
Yes, you can use plant-based milk (like almond or oat) and a non-dairy whipped topping. Just check that your pudding mix is dairy-free too—vegan alternatives work perfectly well!
What if I don’t have Cool Whip?
You can fold in freshly whipped cream (sweetened to your liking) as an alternative to Cool Whip. The texture might be slightly lighter, but it will still yield wonderful results.
How far ahead can I assemble the cake?
You can make Easy Icebox Cake up to 24 hours before serving. In fact, making it the night before allows the flavors to meld and the texture to become perfectly set for neat slicing.
What’s the best way to slice this cake neatly?
For picture-perfect slices, use a long, sharp knife that’s been wiped clean between cuts. If it’s frozen, let it soften a bit before slicing; if chilled, it should slice smoothly with minimal effort.
Final Thoughts
If you’re craving a dessert that’s as easy to make as it is to love, you can’t go wrong with this Easy Icebox Cake. It’s cool, creamy, and filled with layers of pure comfort—so go ahead, whip it up and share it with someone special. You’ll wonder how you ever lived without this sweet little classic!
PrintEasy Icebox Cake Recipe
This easy icebox cake is a no-bake, old-fashioned dessert that layers graham crackers, creamy cheesecake or vanilla pudding, fluffy Cool Whip, and fresh strawberries. Perfect for summer gatherings, it comes together in just minutes and chills in the refrigerator until set. The result is a refreshing dessert with delightful layers of flavor and texture, ideal for feeding a crowd with minimal effort.
- Prep Time: 10 minutes
- Cook Time: 0 minutes
- Total Time: 6 hours 10 minutes
- Yield: 15 slices
- Category: Desserts
- Method: No-cook
- Cuisine: American
- Diet: Vegetarian
Ingredients
Pudding Layer
- 3 boxes instant cheesecake pudding mix (3.4 oz each; or substitute vanilla pudding)
- 4 cups cold whole milk
- 2 cups full fat Cool Whip
Layers and Topping
- 1 box graham crackers (14.4 oz)
- 3–4 cups fresh strawberries, washed, diced, and patted dry
Instructions
- Prepare the Pudding Mixture: In a large mixing bowl, combine the pudding mix and cold whole milk. Whisk well until smooth and slightly thickened.
- Add Cool Whip: Gently fold the Cool Whip into the pudding mixture until completely combined and creamy. Set aside.
- Layer the Graham Crackers: In a 9×13 inch rectangular pan, arrange graham crackers to cover the bottom of the pan in a single layer.
- Add the First Layer of Filling: Spoon one-third of the pudding/Cool Whip mixture over the graham crackers. Use a spatula to gently spread it out evenly.
- Add Strawberries: Sprinkle some of the diced strawberries evenly over the pudding layer.
- Repeat the Layers: Add another layer of graham crackers, followed by another third of the pudding mixture and more strawberries. Repeat again, finishing with the remaining pudding mixture and strawberries as the final layer.
- Chill the Cake: Cover the pan and refrigerate for 6-8 hours (or overnight) until the layers are set and the cake has a soft, cake-like texture.
- Optional – Freeze for a Frozen Dessert: For a frozen version, wrap the pan in plastic wrap and aluminum foil and freeze overnight. Thaw for 30-40 minutes at room temperature before serving.
- Serve: Slice chilled icebox cake and serve cold. Enjoy!
Notes
- Chill time is essential for the best texture—don’t skip it!
- Use full-fat dairy for rich and creamy results.
- Make sure strawberries are dry to prevent the cake from becoming soggy.
- Feel free to swap in other fruits like blueberries or bananas for variety.
- Leftovers can be stored in the refrigerator for up to 3 days in a sealed container.
Nutrition
- Serving Size: 1 slice
- Calories: 250
- Sugar: 19g
- Sodium: 260mg
- Fat: 8g
- Saturated Fat: 4.5g
- Unsaturated Fat: 2.5g
- Trans Fat: 0g
- Carbohydrates: 42g
- Fiber: 1g
- Protein: 4g
- Cholesterol: 10mg

