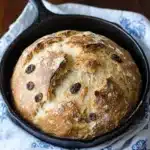
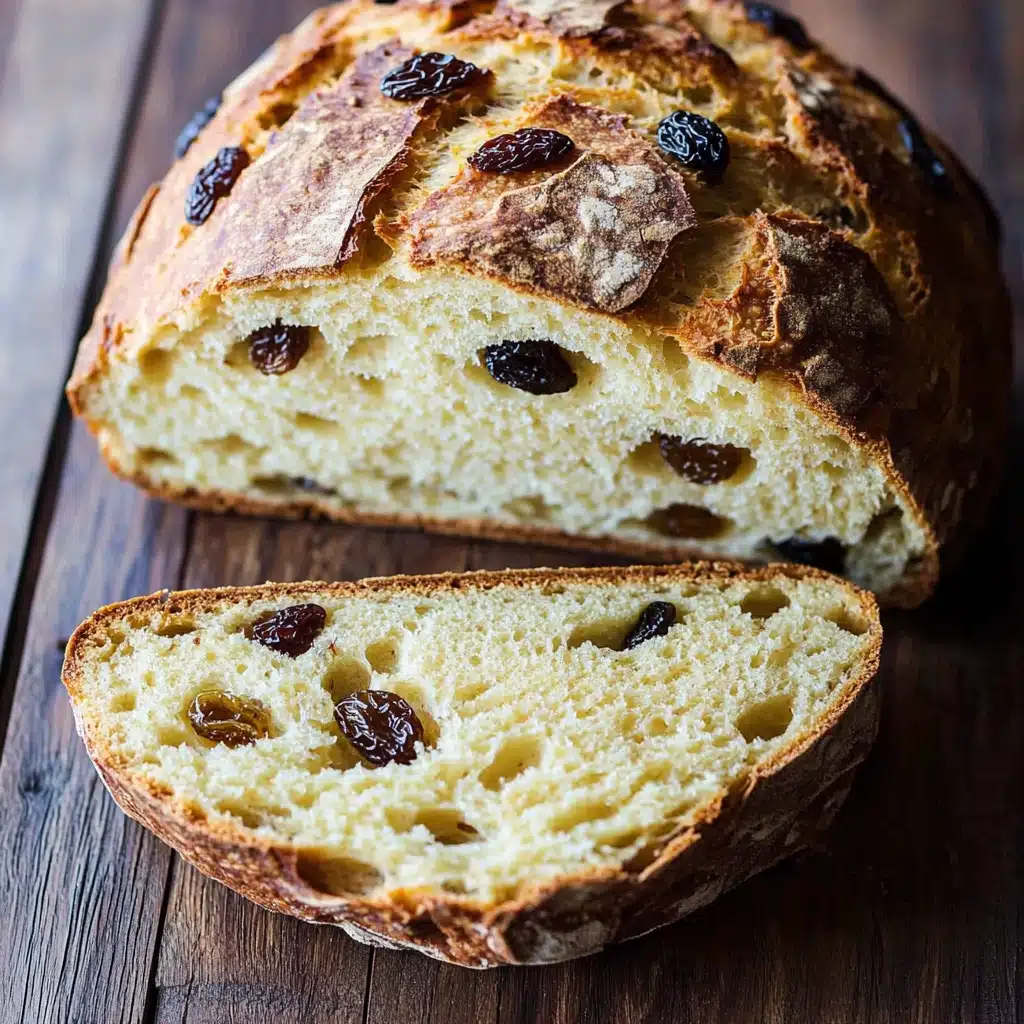
This is hands-down the Irish Soda Bread Recipe I return to year after year to usher in St. Patrick’s Day or simply to celebrate the beauty of effortless baking. With its tender crumb, super-fast prep, and rustic golden crust, this loaf feels like a homemade hug straight from your oven. The subtle sweetness, crunchy edges, and chewy currants or raisins tucked inside make this recipe equally irresistible for breakfast or an afternoon treat with tea.
Ingredients You’ll Need
You’ll love how straightforward these ingredients are, yet every single one is vital for taste, texture, and that signature golden hue. Simple, honest pantry staples work together to create a loaf that’s soft, buttery, and brimming with traditional flavor.
- All-purpose flour: The hearty backbone of this loaf, offering a sturdy crumb while still keeping it tender.
- Granulated sugar: Adds just enough sweetness to balance the tang and accent the raisins or cranberries.
- Sea salt: Enhances the other flavors and perks up the bread’s overall taste.
- Baking soda: The magical leavening agent that gives Irish Soda Bread Recipe its signature rise—no yeast needed!
- Unsalted butter: Cold butter cuts into the flour for flakiness and the best buttery aroma.
- Buttermilk or kefir: The acidity here activates the baking soda and lends a fabulous tang while keeping the loaf moist.
- Large egg: Binds everything together while adding richness to the crumb.
- Raisins or dried cranberries (optional): Tiny jewels of sweetness dotting the bread for delightful texture and flavor pops.
How to Make Irish Soda Bread Recipe
Step 1: Prep Your Oven and Pan
Start by preheating your oven to 375˚F, ensuring it’s evenly hot before your loaf goes in. Take a 10-inch cast-iron skillet (or an oven-safe pan), and generously grease it with half a tablespoon of butter. This not only prevents sticking but gives the bottom crust a beautiful, caramelized finish.
Step 2: Combine the Dry Ingredients
In a large mixing bowl, whisk together your flour, sugar, salt, and baking soda. This important step means each bite will have the perfect distribution of ingredients and guarantees there aren’t any hidden clumps of baking soda or salt lurking in the mix.
Step 3: Cut in the Butter and Add Fruit
Cube your cold butter and toss it into the flour mixture. Using your fingertips, work the butter until the mixture resembles coarse, buttery crumbs—imagine the humble beginnings of biscuits. Toss in the raisins or cranberries if you’re using them, breaking apart any clusters so every slice gets a bit of fruit.
Step 4: Mix the Wet Ingredients
In a measuring cup, whisk together your buttermilk (or kefir) and egg. The tang of buttermilk and richness of egg make a wonderfully light, moist dough. Pour this mixture into the well you’ve made in the center of your dry ingredients.
Step 5: Bring the Dough Together
With a wooden spoon, gently stir the wet and dry ingredients until the mixture is just moistened. You want it barely coming together and a bit shaggy—overmixing will make your bread tough. Soft, sticky, and rustic is the name of the game here.
Step 6: Shape the Loaf
Tip the dough onto a lightly floured surface. With floured hands, coax it into a round loaf. Don’t worry if it looks a bit rough—those uneven bits will translate into the best rustic texture later. If your dough feels sticky, dust with a little more flour, but resist working it too much.
Step 7: Score and Bake
Set your round of dough into the prepared skillet, then use a sharp knife to cut a large, deep “X” into the top. This signature slash isn’t just traditional; it helps the bread bake evenly as it rises. Bake in the center of your oven for 50 to 55 minutes, or until the bread sounds hollow when tapped on its base. Cool on a wire rack for at least 15 minutes before slicing—pure anticipation!
How to Serve Irish Soda Bread Recipe
Garnishes
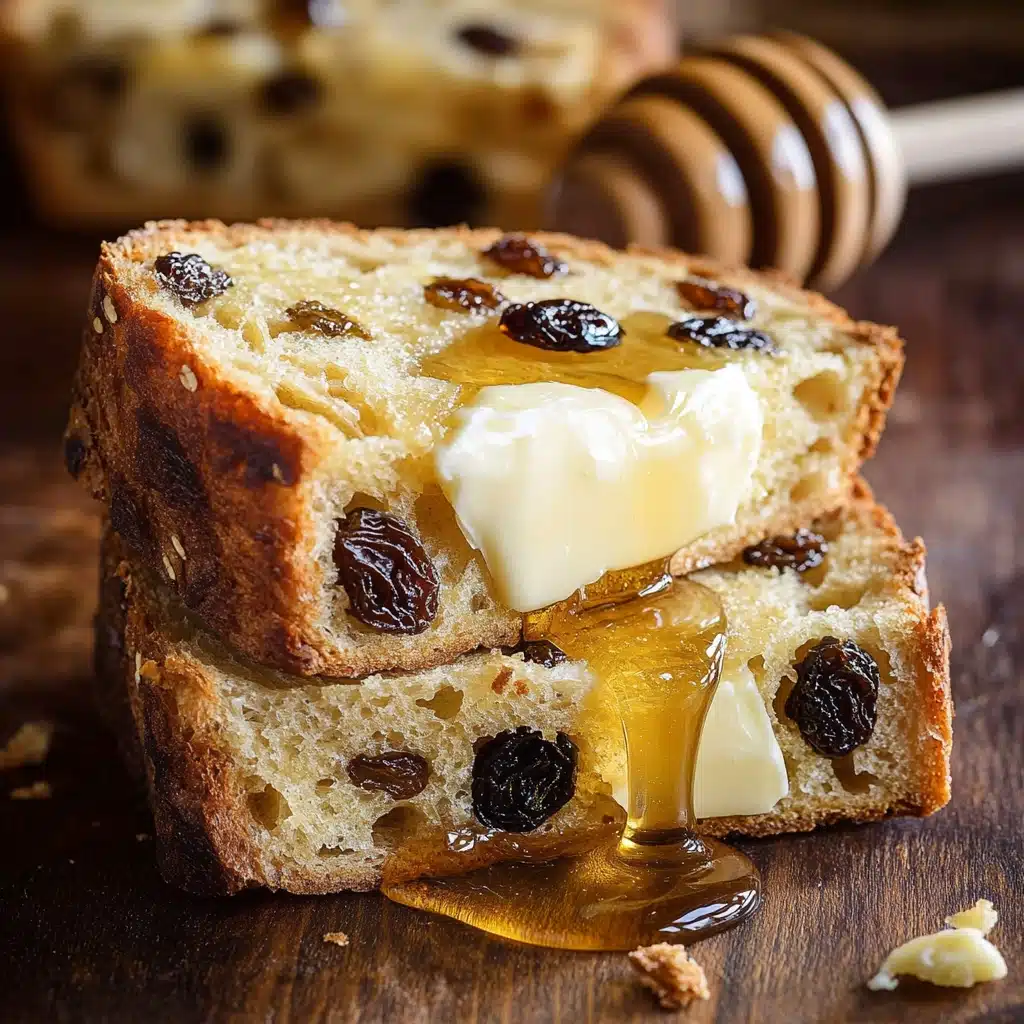
Honestly, Irish Soda Bread Recipe shines with a generous slather of salted Irish butter. For extra sparkle, try a drizzle of honey, orange marmalade, or even a dusting of powdered sugar if you’re in a sweet mood.
Side Dishes
This bread is a dream next to a bowl of hearty stew—think beef and Guinness or potato leek. Equally, it pairs beautifully with scrambled eggs for breakfast, or alongside a simple soup or salad for a homey lunch.
Creative Ways to Present
Arrange thick slices on a rustic wooden board, pair with small bowls of jam, honey, and herbed butter, or serve wedges warm from the oven wrapped in a tea towel. You could even bake mini individual soda breads for a personal touch at brunch gatherings!
Make Ahead and Storage
Storing Leftovers
To keep your Irish Soda Bread Recipe fresh, wrap the cooled loaf tightly in plastic wrap or place it in an airtight container. It stays moist and delicious at room temperature for up to two days, but after that, a quick visit to the fridge will help it last up to a week.
Freezing
If you plan to keep some for later, slice the bread first, then freeze the slices in a zip-top freezer bag. This way, you can just grab and toast a single slice whenever the craving strikes. The bread will keep well for up to two months frozen.
Reheating
Bring back that bakery-fresh flavor by gently warming slices in a toaster or low oven for about five minutes. For whole loaves, wrap in foil and heat at 300°F until warmed through. Serve with soft butter for that just-baked experience.
FAQs
Can I make this recipe without raisins or dried cranberries?
Absolutely! While raisins add lovely pops of sweetness, they’re entirely optional. You can even try other mix-ins like chopped nuts or leave the bread plain for a more savory loaf.
What does the “X” on top do?
Scoring a big “X” into the top isn’t just for looks—it lets the steam escape and helps the Irish Soda Bread Recipe rise beautifully in the oven, delivering that iconic Irish look.
Do I really need buttermilk or will regular milk work?
Buttermilk (or kefir) is important for creating the classic tangy flavor and activating the baking soda. If you don’t have buttermilk, you can sour regular milk with a tablespoon of lemon juice or vinegar and let it sit for five minutes before using.
What’s the best way to store leftovers?
Wrap any remaining bread tightly in plastic or place in an airtight container. If you plan on keeping it longer than two days, pop it in the fridge or freezer for maximum freshness.
How do I know when my soda bread is done baking?
Your Irish Soda Bread Recipe is finished when it turns golden brown, and the loaf sounds hollow when you tap the bottom. Cooling it on a rack helps keep the crust crisp too.
Final Thoughts
Nothing beats the aroma of a freshly baked Irish Soda Bread Recipe wafting from your kitchen, especially when you know just how easy it is to pull together. If you’re craving something quick, cozy, and crowd-pleasing, this is a bread you’ll want to return to again and again—give it a try and make it a staple in your baking repertoire!
PrintIrish Soda Bread Recipe
This easy Irish-American Soda Bread comes together in just 5 minutes with no kneading or proofing required. With a soft, tender, and slightly sweet crumb, its biscuit-like texture is perfect served warm with butter or jam. The addition of raisins or cranberries is optional but adds a lovely touch of sweetness. Ideal for breakfast, brunch, or as a comforting side with your favorite hearty meals.
- Prep Time: 10 minutes
- Cook Time: 55 minutes
- Total Time: 1 hour 5 minutes
- Yield: 1 loaf (12 slices)
- Category: Bread
- Method: Baking
- Cuisine: Irish-American
- Diet: Vegetarian
Ingredients
Dry Ingredients
- 4 cups all-purpose flour, plus 1/4 cup more for dusting
- 1/4 cup granulated sugar
- 1 tsp sea salt
- 1 tsp baking soda
Butter
- 6 Tbsp cold unsalted butter, plus 1/2 Tbsp to grease pan
Wet Ingredients
- 1 3/4 cups cold lowfat buttermilk or kefir
- 1 large egg, cold
Add-Ins (Optional)
- 1 cup raisins or dried cranberries
Instructions
- Preheat and Prepare Pan: Preheat the oven to 375˚F. Generously grease a 10-inch cast-iron skillet with 1/2 tablespoon butter to prevent sticking and enhance browning.
- Mix Dry Ingredients: In a large mixing bowl, whisk together the flour, sugar, salt, and baking soda. This ensures even distribution of the leavening agent and flavorings.
- Add Butter and Raisins: Cut the cold butter into small cubes and add to the flour mixture. Using your fingertips, work the butter into the flour until the texture resembles coarse crumbs. Stir in the raisins or cranberries, making sure they’re evenly distributed and breaking up any clumps.
- Combine Wet Ingredients: In a large measuring cup or bowl, whisk together the buttermilk (or kefir) and the cold egg until fully combined.
- Form the Dough: Make a well in the center of the dry ingredients and pour in the buttermilk mixture. Using a wooden spoon, mix just until the dough starts to come together. Be careful not to overmix, as this can make the bread tough.
- Shape the Loaf: Transfer the dough onto a floured surface. With floured hands, gently shape the dough into a round loaf. The dough will be shaggy—if it’s too sticky, dust lightly with extra flour. Do not knead or overwork.
- Score and Bake: Place the loaf onto the prepared skillet. Using a sharp knife, cut a large, deep ‘X’ on top of the dough—this helps the bread cook evenly. Bake in the center of the oven for 50-55 minutes, or until golden brown and the loaf sounds hollow when tapped.
- Cool and Serve: Remove the bread from the oven and transfer to a wire rack to cool. Enjoy warm or at room temperature. The bread is best eaten within 2 days, and leftovers can be refrigerated for up to a week.
Notes
- For extra flavor, try adding orange zest or caraway seeds to the dough.
- If you don’t have a cast-iron skillet, a baking sheet lined with parchment can be used.
- Do not overmix or knead the dough—minimal handling ensures a tender crumb.
- Store leftovers tightly wrapped in the refrigerator for up to 7 days, or freeze for longer storage.
- This bread is delicious served with butter, jam, or alongside soups and stews.
Nutrition
- Serving Size: 1 slice
- Calories: 259
- Sugar: 6g
- Sodium: 325mg
- Fat: 7g
- Saturated Fat: 4g
- Unsaturated Fat: 3g
- Trans Fat: 0g
- Carbohydrates: 44g
- Fiber: 2g
- Protein: 6g
- Cholesterol: 37mg

