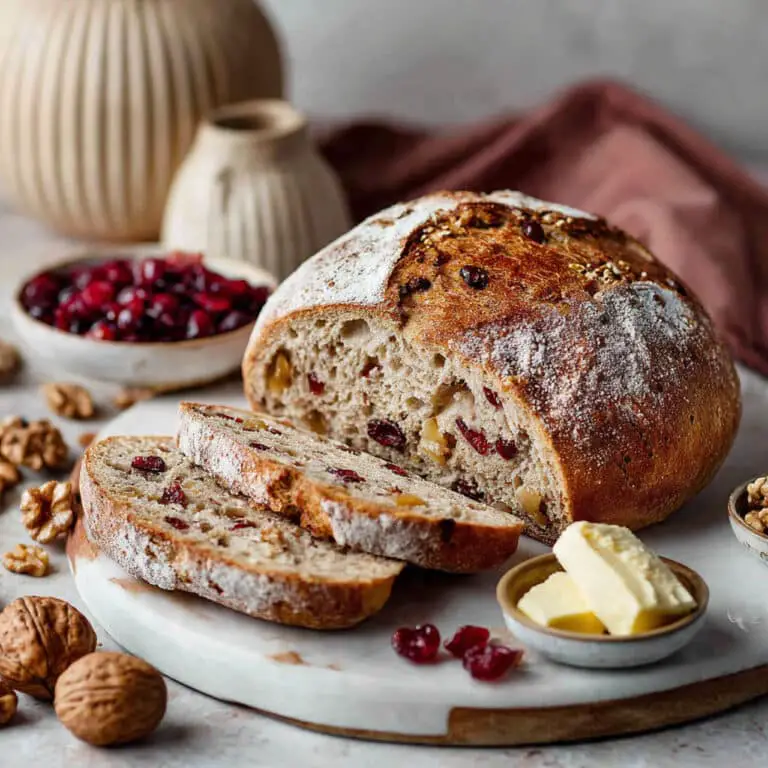
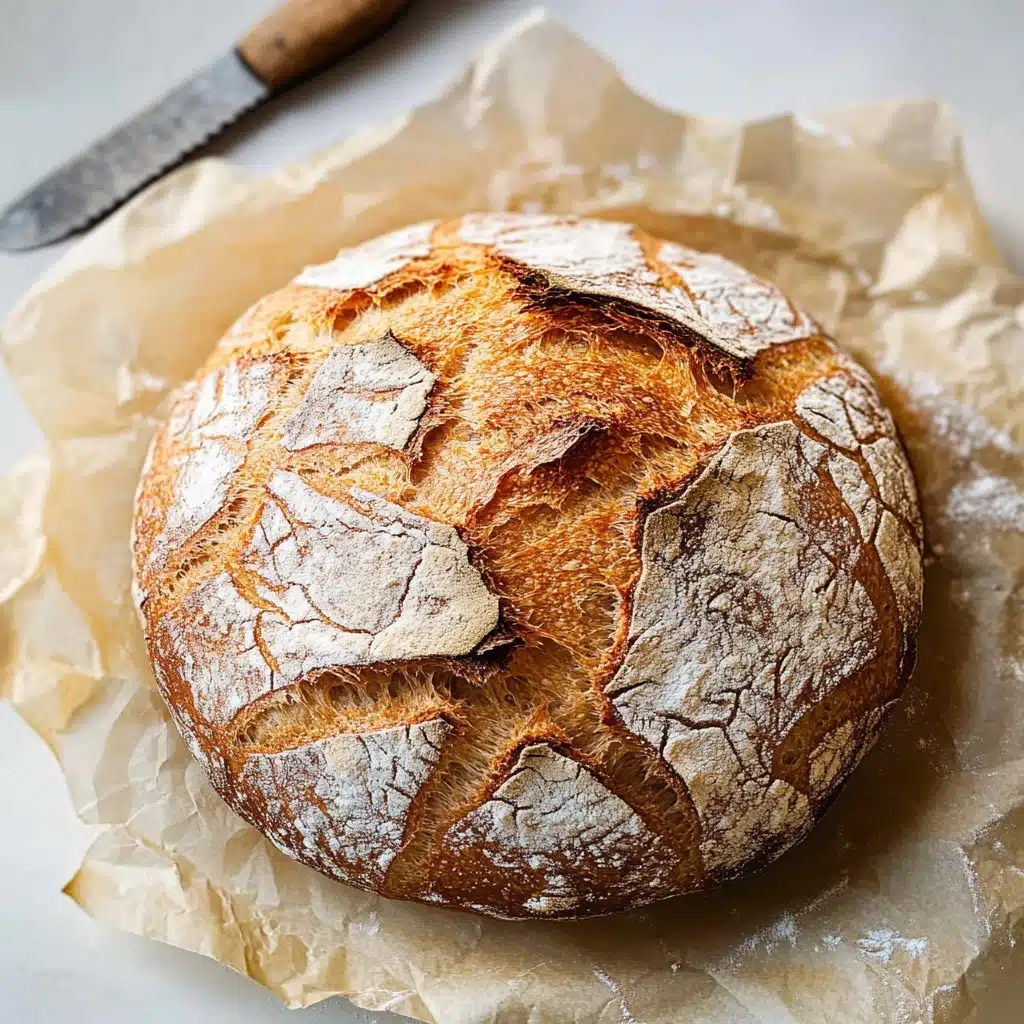
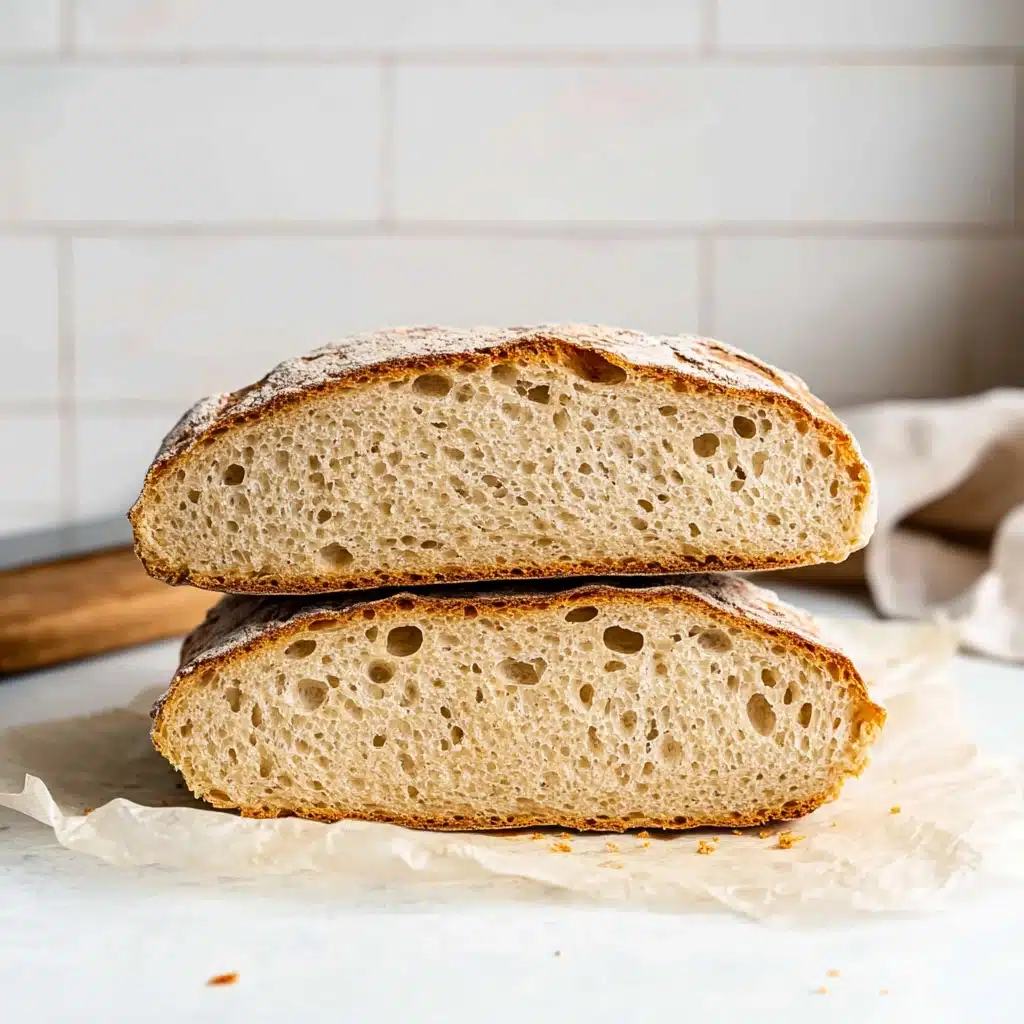
If you’ve been searching for the perfect No-Knead Gluten-Free Bread, your quest ends right here. Picture this: a loaf that crackles as you slice into its golden, crisp crust, revealing a cloud-soft and airy crumb that’s nothing short of magical—even if you’re not gluten-free yourself! With only a handful of everyday ingredients and zero kneading involved, this bread brings bakery-style comfort right into your kitchen, no fancy techniques required. Welcome to gluten-free baking you’ll crave every week.
Ingredients You’ll Need
The beauty of No-Knead Gluten-Free Bread lies in the simplicity and purpose of each ingredient. These basics work together to create a satisfying crust, tender interior, and classic bread flavor—just as comforting as any traditional loaf.
- Warm water: The right temperature wakes up the yeast and sets the whole dough in motion, helping everything bind together.
- Sugar: A tiny touch is all it takes to feed the yeast and encourage that beautiful rise you want in every slice.
- Active dry yeast: This hero delivers the airy, fluffy structure you’ll love—just be sure it bubbles for best results.
- Gluten-free flour: Choose your favorite blend (Caputo is truly excellent here) for a dough that holds together, bakes up golden, and tastes absolutely decadent.
- Salt: A small, essential sprinkle brings all the flavors to life and balances out sweetness, so each bite tastes like pure bread heaven.
How to Make No-Knead Gluten-Free Bread
Step 1: Activate the Yeast
Pour the warm water into a mixing bowl, add the sugar and active dry yeast, and give it all a stir. Set it aside for about five minutes—watch for those small, foamy bubbles. If the mixture stays flat, grab fresh yeast and warm water and try again. Getting this step right is the true backbone for a soft, tall loaf of No-Knead Gluten-Free Bread.
Step 2: Mix the Dry Ingredients
In a separate big bowl, whisk together your gluten-free flour and salt. This quick stir ensures you get a well-blended dough with no clumps of flour or hidden salty pockets, setting you up for an even texture and perfect crust every time.
Step 3: Combine and Form the Dough
Pour the activated yeast mixture into your dry ingredients slowly, stirring as you go. The goal? A thick and sticky dough that holds its shape, not too wet and not too dry. If your dough is too tight or crumbly, add a tablespoon of water; if it’s runny, sprinkle a bit more flour. Trust your instincts—you’re already on your way to marvelous No-Knead Gluten-Free Bread magic.
Step 4: Let the Dough Rest and Rise
Cover the bowl and let your dough rest for five hours at room temperature, away from chilly drafts. Don’t rush this step! The long, cozy rise lets the flavors deepen and guarantees a lovely, open crumb inside your loaf.
Step 5: Shape the Dough
Dust your counter and hands with gluten-free flour, then gently pour out the dough. Sprinkle more flour on top and use your hands to shape the dough into an oval, even loaf. There’s no need for kneading—just softly coax it into shape and enjoy how forgiving this process is.
Step 6: Prep for Baking
Line your baking dish (a Corning Ware or similar oven-safe dish is perfect) with parchment paper and scoop the shaped dough in. Top it with a lid—or, if you don’t have one, tightly cover it with double foil. This creates the steam your No-Knead Gluten-Free Bread needs for that crave-worthy crust.
Step 7: Bake in a Cold Oven
Place the baking dish into your oven before turning it on. Set the oven to 450°F and immediately start a timer for 40 minutes. No preheating required—this unique method lets the bread rise gently as the oven heats, creating the signature crust and fluffy middle!
Step 8: Finish Baking Uncovered
Once 40 minutes have passed, carefully remove the lid (or foil) and continue baking the bread for another 30 minutes, or until it’s golden and irresistibly crisp all over. Every oven is a little different, so keep a close eye the final few minutes.
Step 9: Cool and Enjoy
Let your gorgeous loaf cool in the pan for 5 to 10 minutes. Resist the urge to dig in immediately—this short rest allows the crumb to set, so slicing is a breeze and every piece holds together beautifully.
How to Serve No-Knead Gluten-Free Bread
Garnishes
A brush of olive oil and a sprinkling of coarse sea salt transforms every slice into something truly special. For a pop of color and flavor, try a dash of dried herbs like rosemary or thyme just after baking. These touches take your No-Knead Gluten-Free Bread from simple to spectacular right at the table.
Side Dishes
This bread begs to be served alongside a homemade soup or fresh salad. Its sturdy texture is a dream for dipping into olive oil and balsamic vinegar, or mopping up hearty stews. It shines at breakfast, too—just toast a slice and pair with avocado, eggs, or your favorite nut butter for a nourishing start.
Creative Ways to Present
Layer thin slices for a gorgeous open-faced sandwich bar, or cut the loaf into rustic cubes for gluten-free crostini. Hosting a party? Slice the bread into triangles and serve with a trio of dips for an appetizer everyone will remember. No-Knead Gluten-Free Bread truly matches any occasion, from cozy nights in to festive gatherings.
Make Ahead and Storage
Storing Leftovers
Wrap extra slices tightly in plastic wrap or a clean kitchen towel and keep at room temperature for up to two days. This preserves both the crust and crumb’s best texture, ensuring every piece of your No-Knead Gluten-Free Bread stays fresh and ready for snacking.
Freezing
For longer storage, freeze cooled slices or even the whole loaf. Simply wrap each slice individually and place in a zip-top freezer bag. When a craving strikes, take out only what you need—your No-Knead Gluten-Free Bread will taste bakery-fresh every time.
Reheating
Reheat frozen or day-old slices in a toaster or 350°F oven for 5-10 minutes. This revives the crust to crispy perfection and brings back that soft, tender crumb you love, making every slice just as delicious as when it first came out of the oven.
FAQs
Can I use a different gluten-free flour blend in this recipe?
Absolutely! While Caputo gluten-free flour gives stellar results, you can experiment with other blends that are labeled for bread baking. Just be aware that some blends may need a tablespoon or two more or less water, so adjust until you get that ideal thick, sticky dough consistency.
What if my dough doesn’t rise?
If your dough isn’t rising, most likely the yeast didn’t activate. Always double-check your yeast’s expiration date and make sure your water is just lukewarm—not hot or cold. If in doubt, repeat the yeast activation step with fresh ingredients to guarantee that lovely lift.
Do I really need to start with a cold oven?
Yes! Placing the dough in a cold oven and letting it come up to temperature creates the ultimate crust and a more open inner crumb. Don’t skip this clever trick—the gradual rise in heat is one of the secrets behind irresistible No-Knead Gluten-Free Bread.
Can I make this bread dairy-free as well?
Completely! This recipe contains zero dairy ingredients, making it a fantastic go-to for anyone needing both gluten-free and dairy-free bread. You’ll get the same fluffy results—no substitutes needed.
How do I know when the bread is fully baked?
Your bread is perfectly done when it’s golden and crisp on the outside, and sounds slightly hollow when tapped on the bottom. Every oven is unique, so start checking for that golden hue a few minutes before the timer ends.
Final Thoughts
There’s something so wonderful about pulling a homemade loaf of No-Knead Gluten-Free Bread from your oven—it’s a simple pleasure that’s within everyone’s reach. I hope you give this recipe a try and share fresh, crusty, gluten-free goodness with the people you love. Happy baking!
PrintNo-Knead Gluten-Free Bread Recipe
This No-Knead Gluten-Free Bread is soft and fluffy on the inside with a crisp golden crust on the outside. Perfect for those avoiding gluten and dairy, this easy, hands-off recipe requires minimal effort and is great for both seasoned bakers and beginners. Made with just a few pantry staples, it delivers artisan-style bread at home without kneading or fuss.
- Prep Time: 10 minutes
- Cook Time: 1 hour 10 minutes
- Total Time: 6 hours 20 minutes (including resting time)
- Yield: 10 slices
- Category: Bread
- Method: Baking
- Cuisine: American, Bulgarian
- Diet: Gluten Free
Ingredients
Activate The Yeast
- 1.5 cups warm water (370 ml)
- 1 teaspoon sugar (4 grams)
- ½ teaspoon active dry yeast (2 grams)
Dry Ingredients
- 3 cups gluten-free flour (420 grams) (Caputo preferred)
- 1 teaspoon salt (5 grams)
Instructions
- Activate the Yeast: In a medium mixing bowl, combine the warm water, sugar, and active dry yeast. Stir to dissolve, then let sit for 5 minutes. If the mixture does not become foamy or bubbly, the yeast did not activate; start this step again with fresh yeast and ensure your water is lukewarm (not too hot or cold).
- Mix the Dough: In a large bowl, whisk together the gluten-free flour and salt. Gradually pour in the activated yeast mixture while stirring. Mix until a thick, sticky dough forms. The dough should not be too wet or too dry; it should come together in a cohesive mass but be sticky to the touch.
- First Rise: Cover the bowl with a lid or plastic wrap and let the dough rest at room temperature, away from drafts, for 5 hours. During this time, the dough will rise and develop flavor.
- Shape the Dough: Lightly flour your work surface, then turn out the dough onto it. Sprinkle a little flour on top, then gently shape the dough into an oval or round ball. There is no kneading required—simply smooth it out and form your loaf.
- Prepare for Baking: Line a baking dish (such as Corning Ware) with parchment paper and transfer the shaped dough into it. Cover the dish with a lid; if you don’t have a lid, cover tightly with double layers of foil.
- Bake the Bread: Place the covered dish with the dough in a cold oven (do not preheat). Turn the oven to 450°F (232°C) and immediately set a timer for 40 minutes. Do not open the oven during this initial bake.
- Uncover and Finish Baking: After 40 minutes, carefully remove the lid or foil and bake uncovered for an additional 30 minutes or until the crust is golden and the loaf sounds hollow when tapped.
- Cool and Serve: Remove the bread from the oven and let it cool in the pan for 5 to 10 minutes. Lift out using the parchment paper, slice, and enjoy warm or at room temperature.
Notes
- Caputo gluten-free flour was used for this recipe; results may vary if using other brands.
- If the yeast does not activate (no bubbles/foam), the bread will not rise properly.
- Ensure your oven is cold before placing the bread inside for baking.
- For extra crispiness, allow the loaf to cool completely before storing.
- Bread is best enjoyed fresh but can be stored in an airtight container for 2-3 days.
Nutrition
- Serving Size: 1 slice
- Calories: 115
- Sugar: 0.5 g
- Sodium: 240 mg
- Fat: 0.4 g
- Saturated Fat: 0 g
- Unsaturated Fat: 0.3 g
- Trans Fat: 0 g
- Carbohydrates: 25 g
- Fiber: 1 g
- Protein: 2 g
- Cholesterol: 0 mg

