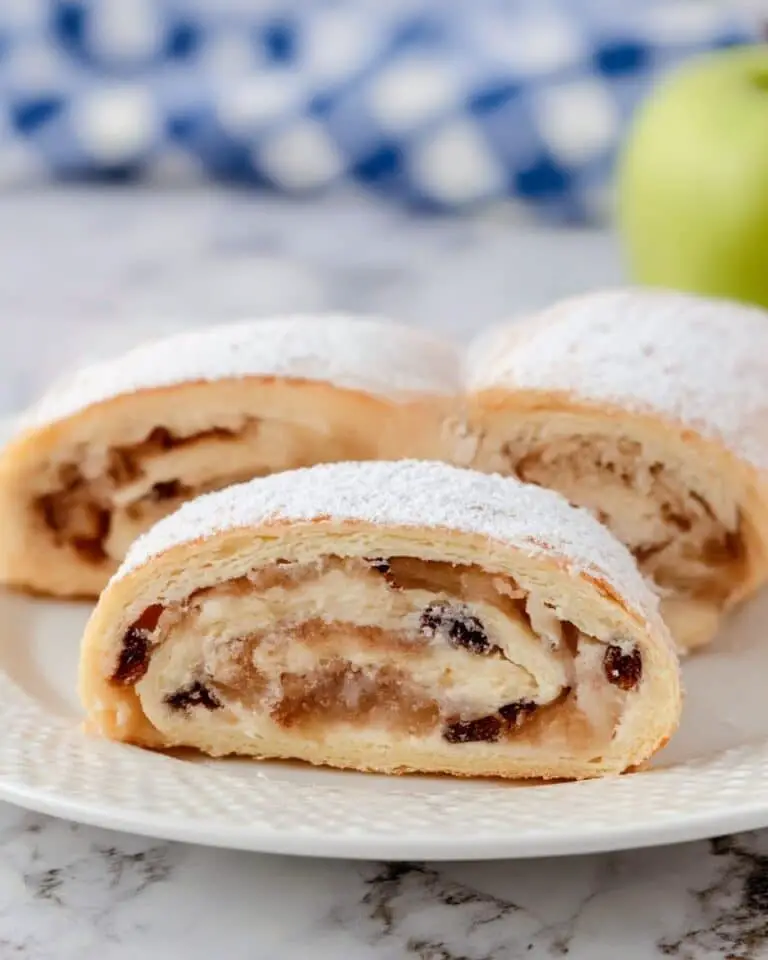
If you’re craving a dessert that feels like a sunny afternoon in every bite, you’re in for a treat with this Blueberry Crumble Bars with Lemon Glaze Recipe. It combines the sweet-tart burst of fresh blueberries with a buttery, crumbly base and a bright, zesty lemon glaze that ties everything together perfectly. These bars are a crowd-pleaser, offering that wonderful balance of textures and flavors that makes you want just one more slice. Whether you’re serving them at a family gathering or enjoying a cozy snack, this recipe shines in simplicity and taste.
Ingredients You’ll Need

The beauty of this Blueberry Crumble Bars with Lemon Glaze Recipe lies in its straightforward ingredients. Each component plays a vital role, from the juicy blueberries that provide freshness to the buttery crumble that adds a tender crunch, all topped with a tangy lemon glaze that wakes up your taste buds.
- Fresh blueberries: Use ripe, firm berries for the juiciest and most flavorful filling.
- All-purpose flour: The foundation of the crumble and crust, providing structure and lightness.
- Granulated sugar: Balances the tartness of the fruit and adds sweetness to the crumble.
- Unsalted butter: Melted and chilled, it brings richness and helps create that perfect crumbly texture.
- Salt: Enhances all the flavors, making the sweetness pop just right.
- Ground cinnamon: Adds a warm hint of spice to deepen the overall flavor profile.
- Lemon juice and zest: The star of the glaze, providing bright citrus notes that complement the blueberries beautifully.
- Powdered sugar: Used in the glaze for a smooth, sweet finish that’s easy to drizzle.
How to Make Blueberry Crumble Bars with Lemon Glaze Recipe
Step 1: Prepare Your Crumble Base
Start by preheating your oven and lining a baking pan with parchment paper or greasing it well. In a large bowl, mix the flour, sugar, salt, and cinnamon. Cut in the chilled butter using a pastry cutter or your fingers until the mixture resembles coarse crumbs. Press two-thirds of this crumble mixture firmly into the bottom of your pan to create a sturdy base.
Step 2: Add the Blueberry Filling
Wash and drain your fresh blueberries, then evenly spread them over the crust layer. The berries should be close to the edge for maximum filling goodness in every bite. The burst of juicy blueberries will be the heart of your bars, so don’t skimp on this layer!
Step 3: Top with Remaining Crumble
Sprinkle the remaining crumble mixture over the blueberries evenly. This layer will bake into a golden, crunchy topping that contrasts beautifully with the soft fruit beneath.
Step 4: Bake to Perfection
Pop the pan into your preheated oven and bake for about 35 to 40 minutes, or until the crumble topping is golden brown and the berry filling is bubbly and fragrant. The aroma itself is enough to make your mouth water!
Step 5: Prepare the Lemon Glaze
While the bars are cooling, whisk together powdered sugar, fresh lemon juice, and lemon zest until smooth and glossy. The glaze should be thick yet pourable, bright and zesty, ready to add that perfect finishing touch.
Step 6: Glaze and Cool
Once the bars are completely cool, drizzle the lemon glaze generously on top. Allow the glaze to set for about 15 minutes before slicing to ensure clean, beautiful serving bars.
How to Serve Blueberry Crumble Bars with Lemon Glaze Recipe

Garnishes
A sprinkle of extra lemon zest or a few fresh blueberries on top of the glaze makes the bars look irresistible and adds an extra pop of freshness. A light dusting of powdered sugar also enhances their delicate sweetness and presentation.
Side Dishes
Pair these bars with a scoop of vanilla ice cream or a dollop of freshly whipped cream to elevate the indulgence. A cup of hot tea or a refreshing glass of lemonade complements the citrus and berry flavors perfectly, making for a delightful treat any time of day.
Creative Ways to Present
For a pretty party platter, cut the bars into small squares and arrange them in neat rows, alternating with a few sprigs of fresh mint or edible flowers for a charming rustic look. You can also serve them on mini dessert plates with a side of fresh fruit salad for an elegant brunch option.
Make Ahead and Storage
Storing Leftovers
Keep any leftover Blueberry Crumble Bars with Lemon Glaze Recipe in an airtight container at room temperature for up to two days, or refrigerate them for up to five days to maintain freshness and texture.
Freezing
If you want to save some for later, the bars freeze wonderfully. Wrap them tightly in plastic wrap followed by foil, then freeze for up to three months. Thaw overnight in the fridge before serving.
Reheating
Reheat individual bars gently in the microwave for 15 to 20 seconds or warm in a preheated oven at 300°F for about 10 minutes. This will revive the crumble’s crispness and soften the filling, bringing back that just-baked magic.
FAQs
Can I use frozen blueberries for this recipe?
Yes! Frozen blueberries work well, especially when fresh ones are out of season. Just be sure to thaw and drain them to avoid excess moisture that might make the bars soggy.
Is the lemon glaze necessary?
While the lemon glaze adds a wonderful bright flavor and beautiful shine, you can skip it or dust with powdered sugar if you prefer a simpler finish.
How do I prevent the crumble top from burning?
If your crumble tends to brown too quickly, cover the pan loosely with foil halfway through baking to protect the top while the filling finishes cooking.
Can I make these bars gluten-free?
Absolutely! Swap the all-purpose flour for a gluten-free baking blend, and ensure all other ingredients you use are certified gluten-free for best results.
What’s the best way to slice these bars cleanly?
Use a sharp knife warmed slightly under hot water and wiped dry before slicing. Cutting when the bars are fully chilled also helps achieve neat edges without crumbling.
Final Thoughts
I hope you’re as excited as I am for you to try this Blueberry Crumble Bars with Lemon Glaze Recipe. It’s a joyous combination of fresh fruit, buttery crumble, and lively citrus glaze that’s sure to brighten your dessert table. Once you make these bars, they’ll quickly become a beloved favorite for all your sweet cravings and special moments. Happy baking and even happier eating!
PrintBlueberry Crumble Bars with Lemon Glaze Recipe

This Impossibly Easy Lemon Pie is a light, creamy dessert made with simple pantry ingredients and fresh lemon juice and zest. The pie has a tender, custard-like texture with a bright citrus flavor, perfect for any occasion. Blended quickly and baked to a slight jiggle, it’s an effortless yet impressive sweet treat.
- Prep Time: 15 minutes
- Cook Time: 45 minutes
- Total Time: 3 hours 55 minutes
- Yield: 12 servings
- Category: Dessert
- Method: Baking
- Cuisine: American
Ingredients
Pie Ingredients
- 2 1/2 cups whole milk
- 5 large eggs
- 1 cup granulated sugar
- 3/4 cup Bisquick™ Original Pancake & Baking Mix
- 1/2 cup unsalted butter, melted
- 1/3 cup fresh lemon juice
- 2 tablespoons lemon zest
- Powdered sugar, for dusting
Instructions
- Preheat and prepare pie plate: Heat your oven to 350°F (175°C). Grease a 9-inch deep-dish pie plate thoroughly with butter to prevent sticking, and place it on a baking sheet to catch any drips during baking.
- Combine ingredients: Place all the pie ingredients except the powdered sugar into a blender. This includes milk, eggs, granulated sugar, Bisquick mix, melted butter, fresh lemon juice, and lemon zest.
- Blend the batter: Cover the blender and blend on low speed for 30 to 60 seconds until the mixture is smooth. Pause occasionally to scrape down the sides to ensure all ingredients are well combined.
- Pour and rest: Pour the blended batter into the prepared pie plate. Allow the batter to stand for 5 minutes, which helps it settle and improves texture.
- Bake the pie: Place the baking sheet with the pie plate into the preheated oven. Bake for 40 to 45 minutes or until the pie has puffed up and is slightly jiggly in the center, indicating it’s set but still creamy.
- Cool the pie: Remove the pie from the oven and transfer it to a cooling rack. Let it cool completely for about 1 hour to allow the custard to firm up.
- Chill and serve: Refrigerate the pie for at least 2 hours before slicing to ensure clean cuts and further set the custard. Just before serving, dust the top lightly with powdered sugar for a decorative finish.
Notes
- Use fresh lemon juice and zest for the best bright lemon flavor.
- Bisquick mix helps give the pie a unique texture, but you can substitute with a similar baking mix if needed.
- The pie will have a slightly wobbly center when done baking; it firms up as it cools and chills.
- Make sure not to overblend as this can cause too much air, which might affect the texture.
- Serve chilled for the best flavor and texture.
- Store leftovers in the refrigerator covered for up to 3 days.