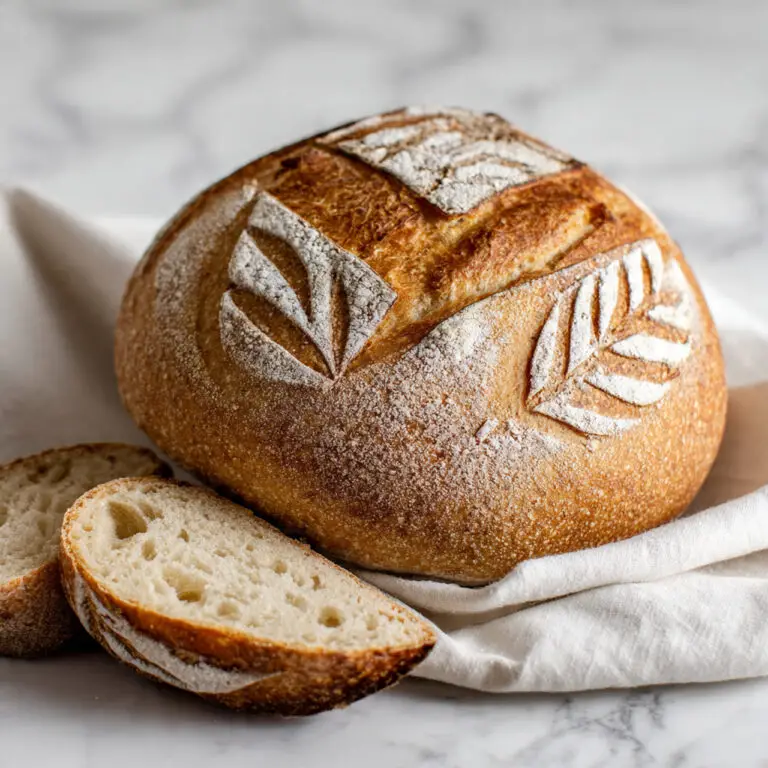
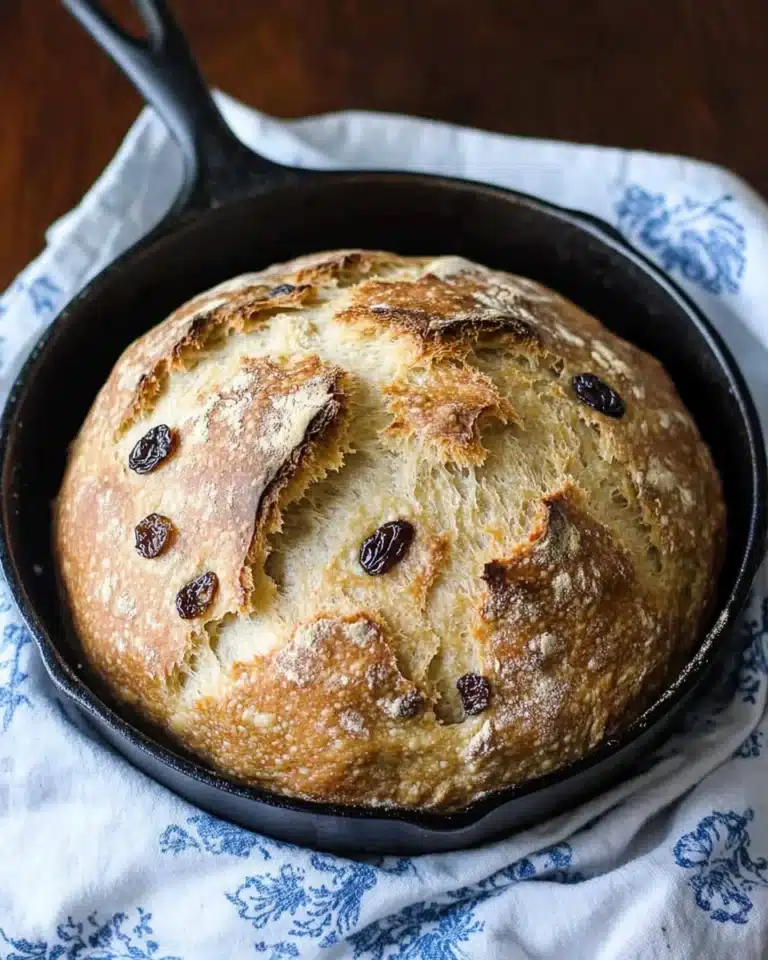
If you’ve ever dreamed of baking the perfect loaf of bread that fills your kitchen with a warm, irresistible aroma and boasts a soft, tender crumb with the ideal golden crust, then you are going to love My Favorite White Bread Recipe. This recipe delivers that classic, fluffy white bread we all adore, made with simple pantry staples that come together beautifully. Whether you’re a seasoned baker or just starting out, this recipe is incredibly forgiving and rewarding, producing loaves that slice perfectly and taste like they’ve come from a cozy artisan bakery.
Ingredients You’ll Need

These ingredients might be straightforward, but each one plays a crucial role in achieving the wonderful texture, flavor, and color of My Favorite White Bread Recipe. From the yeast that sparks the dough’s rise to the butter that enriches every bite, everything counts.
- Instant yeast: Using 4½ teaspoons (two 0.25-ounce packets) ensures a reliable rise for soft and airy bread.
- Warm water: ¾ cup plus 2⅔ cups – just the right temperature to activate yeast without killing it.
- Granulated sugar: ¼ cup adds a subtle sweetness that balances the bread’s flavor and feeds the yeast.
- Salt: 1 tablespoon enhances flavor and strengthens the gluten network.
- Unsalted butter: 3 tablespoons cubed at room temperature — this enriches the dough for a tender crumb.
- All-purpose flour: 9 to 10 cups – the backbone of the bread, providing structure.
- Melted unsalted butter: 3 tablespoons for brushing, which gives the crust a shiny, buttery finish.
How to Make My Favorite White Bread Recipe
Step 1: Activate the Yeast and Prepare the Dough
Start by stirring the instant yeast into ¾ cup of warm water, letting it sit for 5 minutes to dissolve and activate. Then add the remaining 2⅔ cups of water, sugar, salt, room temperature butter, and 5 cups of flour. This initial mix gets the base going and ensures your dough starts developing its structure early on.
Step 2: Knead Until Perfectly Soft
Next, switch to a dough hook and mix on low speed, gradually adding the remaining flour until the dough feels soft and tacky, never sticky. This balance is key — too much flour, and the bread gets dense; too little, and it’s too sticky to handle. Knead for about 7 to 10 minutes until a smooth, elastic ball forms that clears the sides of the bowl.
Step 3: First Rise
Place your dough in a lightly greased bowl, turning it so the entire surface is lightly coated. Cover it with plastic wrap and let it rise in a draft-free spot until it doubles in size. This usually takes between 45 minutes and an hour. This rise develops flavor and lets the yeast work its magic on gluten.
Step 4: Shape the Loaves
After the dough has risen, turn it out onto a floured surface and gently press to release any large air bubbles. Divide the dough in two and carefully form each piece into a 9×12-inch rectangle. Roll each tightly into a cylinder, pinching the seams closed to keep the shape intact. Then tuck the ends under and place each loaf into a greased 9-inch loaf pan for the next rise.
Step 5: Second Rise
Cover your loaf pans loosely and find a warm, calm place for the dough to rise a second time. Wait until the dough swells to double in size again—generally 30 to 45 minutes. This step is essential for that light, airy crumb you’re after.
Step 6: Bake the Loaves to Golden Perfection
Preheat your oven to 400 degrees F, positioning a rack at the lowest setting. Brush the tops of the loaves with melted butter before baking. Bake for 30 to 35 minutes, rotating halfway through for even cooking. When done, the crust should be a gorgeous golden brown, and an instant-read thermometer should read 195 degrees F inside.
Step 7: Final Butter Brush and Cooling
Right after pulling the bread from the oven, brush the loaves again with melted butter. This step adds a glossy finish and rich flavor. Allow the bread to cool for 10 minutes in the pans, then turn out onto a wire rack to cool completely before slicing to retain that perfect texture.
How to Serve My Favorite White Bread Recipe

Garnishes
While white bread doesn’t usually need much adorning, a light spread of softened butter or a sprinkle of flaky sea salt on thick slices can elevate the experience. For a touch of elegance, think about brushing the top crust with garlic butter or sprinkling herbs right after baking.
Side Dishes
This bread pairs beautifully with almost anything! Think hearty soups, fresh garden salads, or creamy stews. It also makes a stellar companion to classic deli sandwiches or avocado toast for a satisfying bite anytime.
Creative Ways to Present
Why not shake up your presentation? Cut your loaf into thick slices and toast them slightly, then top with ricotta, honey, and fresh berries for a delightful brunch twist. Alternatively, transform slices into mini bread bowls for dips or individual servings of soup—quick and charming!
Make Ahead and Storage
Storing Leftovers
If you have any bread left over, make sure to store it properly by keeping it in an airtight bread bag or tightly wrapped in plastic wrap at room temperature. This will maintain freshness for up to 4 days. Avoid refrigeration unless necessary, as it tends to dry bread out.
Freezing
My Favorite White Bread Recipe freezes beautifully. Slice beforehand or freeze whole loaves, wrapping them tightly in plastic wrap and then aluminum foil or a freezer-safe bag. Bread will keep for up to 1 month. When ready to enjoy, thaw at room temperature or toast slices directly from frozen.
Reheating
To breathe life back into your bread, warm slices in a toaster or oven set to 350 degrees F for about 5 to 10 minutes—this revives the crust’s crispness and softens the crumb nicely, as if freshly baked.
FAQs
Can I substitute active dry yeast for instant yeast in My Favorite White Bread Recipe?
Yes, you can use active dry yeast, but you’ll need to proof it first by dissolving it in warm water with a pinch of sugar for 5 to 10 minutes until foamy. This extra step ensures the yeast is alive and ready to work properly in your dough.
How important is the temperature of the water used in this recipe?
It’s quite important. The water should be warm—about 100 to 110 degrees F—to activate the yeast without killing it. Too hot, and the yeast won’t survive, too cold, and it won’t activate effectively, causing slow or no rise.
Why does the recipe call for two rises?
The two rises develop flavor and improve the bread’s texture. The first rise helps the dough develop gluten strength and flavor, while the second rise shapes the final structure, resulting in a light, airy loaf.
Can I make smaller loaves or rolls instead of two large loaves?
Absolutely! Divide the dough into smaller portions and shape into rolls or mini loaves. Keep in mind that smaller pieces will require less baking time, so keep an eye on color and internal temperature.
What is the best way to slice My Favorite White Bread Recipe?
Wait until the bread has cooled completely before slicing. Use a serrated bread knife and a gentle sawing motion to get even slices without squashing the loaf. This preserves the crumb structure and showcases that beautiful texture.
Final Thoughts
Baking bread is such a rewarding experience, and My Favorite White Bread Recipe is the kind of recipe that will quickly become a cherished staple in your kitchen. Its simplicity, combined with delicious results, makes it perfect for any baker looking to create comforting homemade bread. I can’t wait for you to try it and enjoy those warm slices fresh from the oven as much as I do!
PrintMy Favorite White Bread Recipe

This classic white bread recipe is easy to follow and yields soft, fluffy loaves with a golden crust. Using instant yeast and simple ingredients, the dough is kneaded, allowed to rise twice, then baked to perfection. Perfect for sandwiches or toast, this homemade bread is sure to become a family favorite.
- Prep Time: 20 minutes
- Cook Time: 35 minutes
- Total Time: 2 hours 30 minutes
- Yield: 2 loaves (20 servings)
- Category: Bread
- Method: Baking
- Cuisine: American
Ingredients
Dough
- 4½ teaspoons instant yeast (two 0.25-ounce packets)
- ¾ cup warm water (180 ml)
- 2⅔ cups warm water (640 ml)
- ¼ cup granulated sugar
- 1 tablespoon salt
- 3 tablespoons unsalted butter, cubed, at room temperature
- 9 to 10 cups all-purpose flour
For Brushing
- 3 tablespoons unsalted butter, melted
Instructions
- Activate the yeast: In the bowl of a mixer, dissolve the yeast in ¾ cup (180 ml) of the warm water and let it sit for 5 minutes to activate and become foamy.
- Combine initial ingredients: Add the remaining 2⅔ cups (640 ml) warm water, sugar, salt, cubed room temperature butter, and 5 cups of the flour to the yeast mixture. Stir to combine the ingredients into a rough dough.
- Knead the dough: Attach the dough hook to the mixer and mix on low speed, gradually adding the remaining flour until the dough is soft and tacky but not sticky. Continue kneading until a cohesive soft ball forms that clears the sides of the bowl, about 7 to 10 minutes.
- First rise: Place the dough in a lightly greased bowl, turning it over to coat all sides. Cover the bowl with plastic wrap and let the dough rise in a draft-free place until doubled in size, approximately 45 minutes to 1 hour.
- Shape the loaves: Turn the dough onto a lightly floured surface and gently press to release air pockets. Divide dough into two equal pieces. For each piece, pat into a 9×12-inch rectangle and roll it tightly from the short end into a cylinder. Pinch seams and tuck the ends. Place each loaf into a greased 9-inch loaf pan.
- Second rise: Cover the loaf pans loosely and allow the dough to rise again in a draft-free area until doubled in size, about 30 to 45 minutes.
- Preheat oven and prepare for baking: Position an oven rack on the lowest setting and preheat the oven to 400°F (204°C). Brush the tops of the loaves with melted butter.
- Bake the bread: Bake the loaves for 30 to 35 minutes, rotating halfway through, until the crust is golden brown and an instant-read thermometer inserted into the center reads 195°F (90.5°C).
- Cool and finish: Remove the bread from the oven and immediately brush with more melted butter. Let the loaves cool for 10 minutes in the pans before removing. Cool completely on a wire rack before slicing. Store at room temperature in an airtight container up to 4 days or freeze for up to 1 month.
Notes
- Use warm water (around 110°F/43°C) to activate the yeast effectively without killing it.
- Flour amounts may vary; add until the dough is soft and tacky but not sticky.
- Ensure rising areas are draft-free for optimal yeast activity.
- Brush melted butter after baking to keep crust soft and add flavor.
- Allow bread to cool completely before slicing to prevent gummy texture.
- Freeze bread in airtight bags to preserve freshness longer.